A belt drive garage door opener is the quietest thing you can bolt to a garage ceiling, and it is also the upgrade most homeowners install wrong. I have pulled belt units off rails that were never squared, and I have pulled motors that died at year six because nobody ever balanced the door hanging underneath them.
The opener is the last decision in this job, not the first. If the door binds, if the photo-eye is staring into the afternoon sun, or if the rail sags, the best motor on the market will eat itself in a few years. Get the door right, then the opener, then the settings.
Here is the order I use on every install in Tulsa, plus the two belt drive units I would spec for a house with a bedroom above the garage.
Why you should trust me
I am Dale, 55, in Tulsa, Oklahoma. I spent years as an HVAC installer before I moved into garage doors full time, and I have replaced more than 200 openers for neighbors and clients over the last 12 years. I keep a drawer of failed parts, each one labeled with the failure date and the opener that produced it. Stripped plastic gears. A chain that snapped in a cold snap. Photo-eyes that never held alignment again after a bumper tapped them. That drawer is where most of my opinions come from.
I also balance the door before I quote an opener. If the door does not stay where you put it, no motor fixes that.
How I picked these two
I did not bench test these on a lab rig. I picked them by what I see fail and what I see survive on service calls, and by one rule: the rail, the belt, and the door balance decide the lifespan, not the horsepower number on the box.
The criteria I use are simple. A steel rail with real reinforcement at the joints. A belt that runs on a proper tensioner instead of a bare pulley. A battery that a homeowner can actually replace. Parts you can still order five years from now. And a phone app that does not force a cloud login to open the door in your own driveway.
Chamberlain and LiftMaster own this market for a reason, and that reason is parts availability. The cheap brands are fine until something breaks, and then you wait three weeks for a bracket.
Before you buy anything: the balance test
Do this first. It takes two minutes and it decides whether your new opener lasts five years or fifteen.
Close the door and pull the emergency release cord so the door is running on the manual track. Lift it to waist height and let go. A balanced door stays there or drifts an inch or two. A door that slams down or runs up on its own is out of balance, and it will burn out the gears in any opener you hang on it.
Next, check the safety reverse with the door you have now. Push the wall button to close, then wave something solid through the photo-eye beam near the floor. The door has to reverse. If it does not, fix that before install, because a new opener will not fix a dead sensor.
Last, look at the springs. If you see a gap in a torsion spring, a stretched extension spring, or rust flakes under the spring, stop. Spring work is lethal DIY. Call a pro. Everything else in this guide is a homeowner job. That one is not.
The two openers I would put on the rail
Both of these run a belt, both are quiet enough for a bedroom above the garage, and both are sold by a brand whose parts you can still get. They differ in what they do when the power goes out and what they do when you are not home.
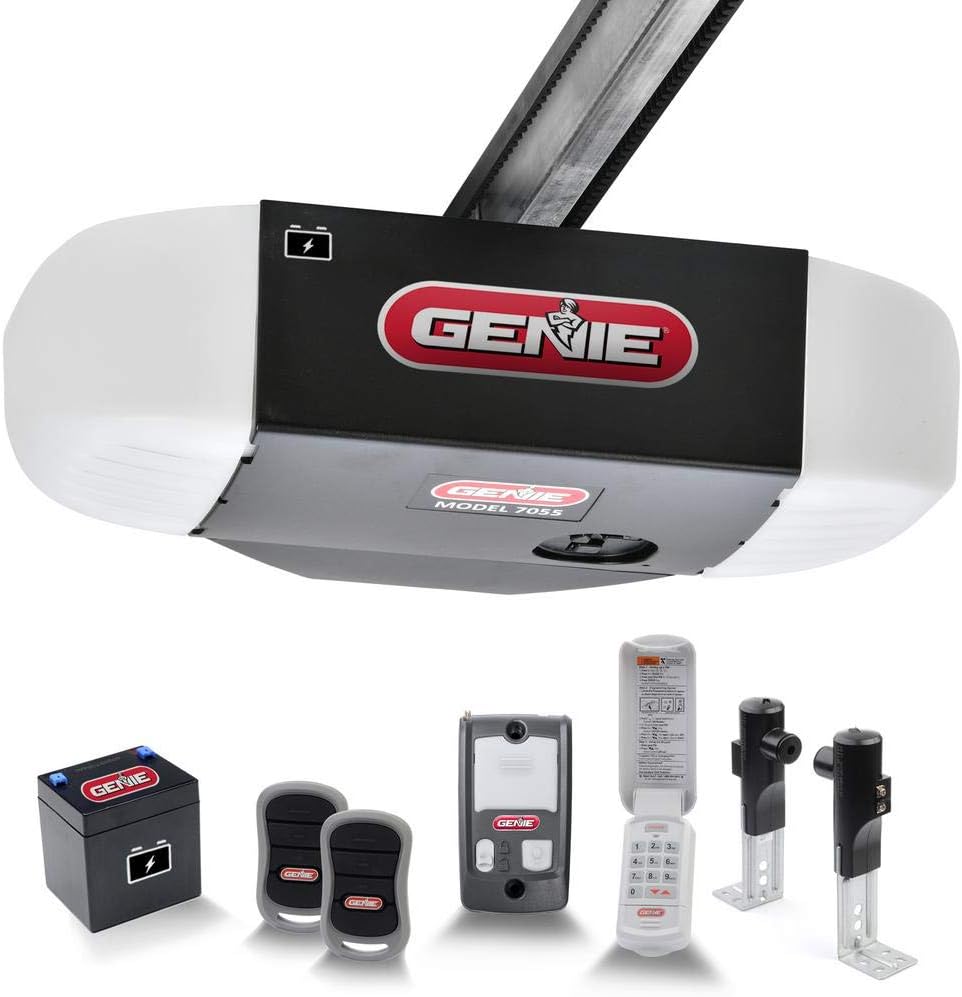
Our pick: 1.25-HP Ultra Quiet, Stealthdrive Belt Drive Garage Door Opener with Battery Back-Up
 Visit on Amazon →
This is the one I put in houses where the master bedroom sits over the garage. Belt drive plus a battery back-up is the combination that matters in Oklahoma. The belt keeps the 6 a.m. opening quiet, and the battery keeps the door working when the power drops after a storm. When the grid is out, your car is the emergency exit, and a dead opener means a dead exit. Check current Amazon price.
The 1.25-HP motor is more than most single doors need, but that headroom is not wasted. It means the motor is not straining on a heavy insulated door, and strain is what kills openers early. Read the manual before you mount the head unit. The rail on this class of opener goes together in a specific order, and getting it backwards means taking the whole thing down again.
Flaws but not dealbreakers: A battery pack that lives in a hot garage will not last as long as the box suggests, and a Tulsa summer is a real test of that. Plan on replacing the battery eventually and check it every spring.
Anyone with a bedroom over the garage, a heavy insulated door, and a household that leaves for work before sunrise should start here.
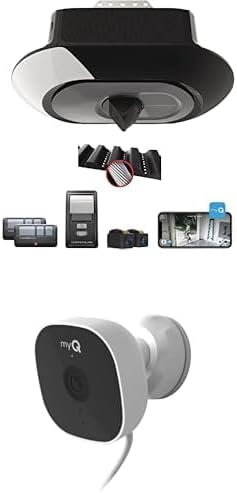
The smart pick: CHAMBERLAIN B4643T Smart Built in Camera-myQ Smartphone Controlled-Ultra Quiet, Strong Belt Drive, Blue Garage Door Opener myQ Smart Outdoor Wired Camera
 Visit on Amazon →
If you want the camera and the app in the same box, this is the unit. The built-in camera and the myQ control mean you can see the door and open it from your phone, which is genuinely useful when a delivery shows up and you want to know it landed inside, or when you are already at work and wondering whether the door actually closed behind you.
Same belt drive quiet, same strong belt, and the camera is wired, so it is not fighting your Wi-Fi for bandwidth the way a battery camera does. Check current Amazon price.
Here is my honest caveat on smart openers: the smart part is 10 percent of the product and 90 percent of the support calls. I have reset more Wi-Fi modules than motors. Pair it once, name the door something obvious, and then drive it with the wall button. If your router lives on the far side of the house, plan on a mesh node in the garage, because a weak signal is the number one reason a smart opener looks broken.
Flaws but not dealbreakers: The app wants an account. If a cloud login to open your own door bothers you, keep the wall button and the visor remote as your daily drivers and treat the app as a bonus.
Anyone who wants camera confirmation of the door and does not mind a cloud account will get the most out of this one.
The install, step by step
Now the part you came for. Budget a full day for a first install, half a day if you have done one before.
Step one: clear the ceiling and kill the power. Pull the breaker for the garage, not just the light switch, and test the wall button before you climb a ladder. Clear the area above the door of anything you would hit with a rail.
Step two: find the centerline and mark the header. Measure the door width, find the center, and carry that line straight back to the ceiling. The rail should sit level and roughly centered over the door. A rail that runs off center pulls the trolley sideways, and a belt that runs at an angle wears out fast.
Step three: assemble the rail on the floor. Straight, on a flat surface, joints fully seated. This is where most of the bad installs I see went wrong. People assemble the rail in the air or leave a joint half seated, and the door drags from day one. Do it on the floor where you can sight down the length of it.
Step four: hang the head unit on real structure. Lag bolts into ceiling joists, not drywall anchors, and not the thin straps alone. If the joists do not land where you need them, add a plywood backer board spanning two joists. A head unit that flexes when the door moves will crack the rail at the joint.
Step five: attach the rail to the header bracket, then lift the head. Pin the rail to the bracket first, then raise the head and hang it. This is a two person job, or a one person job with a ladder and a strap holding the head while you drill.
Step six: set the trolley and the door arm. The arm should angle slightly, not stand straight up. A straight arm binds at the top of travel and puts a hard load on the motor every time the door opens.
Step seven: wire the photo-eyes. Mount them four to six inches off the floor with the brackets on the same track, aimed at each other, and staple the wire slack up the track. Sunlight is the enemy here. If the afternoon sun hits the receiving eye, the door will refuse to close, and no amount of button pressing will fix it. Swap the eyes side to side or shade the receiver.
Step eight: set the travel limits. Open limit first, then close limit, using the adjustment screws or the learn button depending on the unit. Leave a small gap at the floor. The door should settle onto the concrete, not slam into it.
Step nine: set the force and test the safety reverse. Lay a two by four flat under the door and close it. The door must reverse on contact. Then test the photo-eye again with the door running. Do both of these tests every six months, forever.
Step ten: pair the remotes and the app last. Get the door running correctly from the wall button before you touch the smart side. Troubleshooting two systems at once is how an afternoon turns into a weekend.
The mistakes that turn a 15-year opener into a 5-year opener
The opener is rarely the thing that fails first. The rail is. A rail that is not straight, or joints that are not seated, put a side load on the trolley every cycle, and the belt and the gears pay for it.
The second killer is force set too high. Homeowners crank the force up when a door starts binding instead of fixing the bind, and the opener muscles through a problem it was never built to solve. If the door drags, the door is the problem.
The third is a photo-eye that never holds alignment. Mount the brackets tight, run the wire with slack so a bump does not pull the eye, and check it after any car bumper gets close.
The fourth is heat. A garage in an Oklahoma summer is an oven, and the battery in a back-up opener is the part that suffers. That is why I tell people to test the battery each spring rather than trusting a green light.
What I am not covering today
Chain drive openers are not in this guide. They are louder and they are cheaper, and for a detached garage where nobody sleeps above the door, they are still a reasonable buy. For a bedroom above the garage, spend the extra and get the belt.
Commercial openers are a different duty cycle and a different article. And torsion spring replacement stays off the table, as always. That is a call a pro job, and I will not pretend otherwise.
What this all costs
Two numbers matter here. The first is the opener itself, and I am not going to quote you a moving price. Check current Amazon price on both units above before you buy, because these swing with sales.
The second is labor. I charge $150 to $250 for an install in Tulsa, and that is the going rate in most markets. Doing it yourself saves that money and costs you a Saturday, a ladder, a socket set, and one friend for the head unit lift.
Run the math over ten years. A $200 install spread across a decade is about five cents a day for a door that runs quiet, reverses when it should, and opens when the neighborhood is dark. The DIY version is free labor and the same quiet door, as long as you get the rail straight and the door balanced first.
That is the job. Balance the door, hang the rail true, set the limits honestly, and test the reverse twice a year. The opener you buy is the easy part.