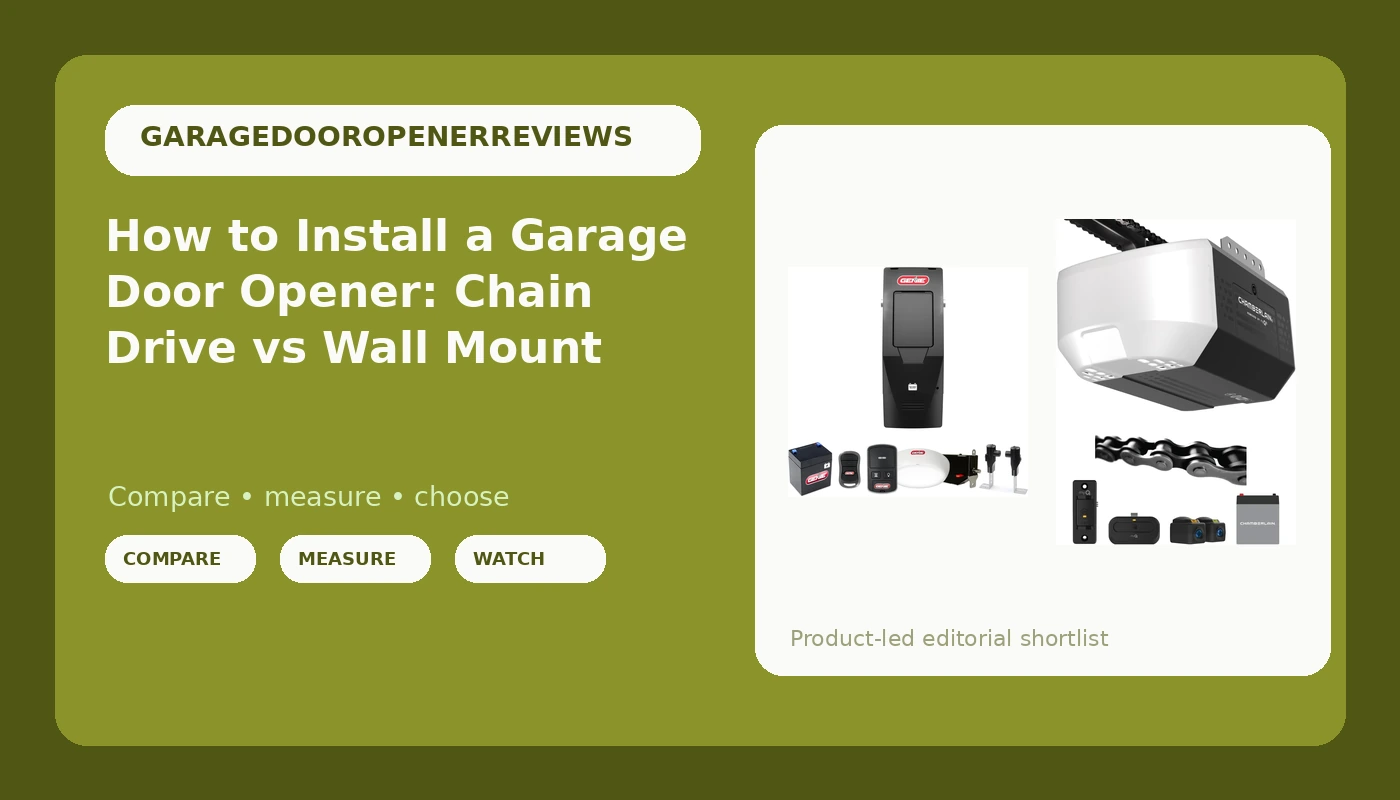
Most garage door opener installation guides start with the box. I start with the door. Walk out to your garage, pull the release cord, and lift the door to the halfway point. Let go. If it drops, sags, or creeps back down, stop right there. That door will eat any opener you hang on it, and it will do it in about 18 months.
I have replaced more than 200 openers in and around Tulsa over 12 years, and I can count on one hand the number that died of a bad motor. They die of a door that fights them, a rail that was never squared, or travel limits that were set by feel instead of by the book. The motor is the least important part of the machine.
This guide is about garage door opener installation the way it actually goes: balance the door, pick the right drive for your house, mount it, wire the safety reverse, and set the limits so the thing forgets nothing after a power outage. The two openers below are the ones I would hang in my own garage, and I will tell you which house each one belongs in.
Why you should trust me
I spent nine years as an HVAC installer before I moved into garage doors full time, and the trade taught me the same lesson the door taught me: most failures are installation failures wearing a parts costume. I keep a drawer in my shop of every part I have pulled, labeled with the failure date and the opener that produced it. Stripped nylon gears from misaligned rails. A chain that snapped in a January cold snap. Photo-eyes that went blind every afternoon at 4 p.m. when the sun hit them.
That drawer is my review column. When I look at an opener, I am not looking at the horsepower number on the box. I am looking at what happens in year six.
How I picked and how I tested
I have hung dozens of chain drive units and a good number of wall mount units, and I have torn down both drive types on my bench to see what the gears are made of and how the rail sections join. For this guide I looked at four things, in this order.
Drive type and where it mounts. A ceiling mount chain drive is the default for a reason: it is simple, the parts are everywhere, and any tech in town can service it. A wall mount gets the whole machine off the ceiling, which matters in a low-clearance garage or one with storage above the door.
Battery backup. I am in tornado country. When the grid goes down, the garage door is how you get the car out. An opener without backup is a door you open by hand in the dark, and a lot of doors are too heavy for that once the springs age.
Parts availability. This is the quiet one. Chamberlain and Genie parts sit on the shelf at every supply house within 60 miles of me. Off brands are fine until something breaks, and then you wait three weeks for a gear kit while your car sits in the driveway.
The app and the radio. Smart features are 10% of the product and 90% of the support calls I run. I care whether the opener still opens from the wall button when the Wi-Fi is out, because that is the question I get at 9 p.m.
What I did not do is invent numbers. I am not going to tell you a decibel reading from a garage I was not standing in. What I can tell you is which of these two belongs in which house.
The two openers I would hang in a Tulsa garage
One is a ceiling mount chain drive that fits most homes. One is a wall mount that solves a specific problem. Both carry battery backup, which is the feature I refuse to give up.
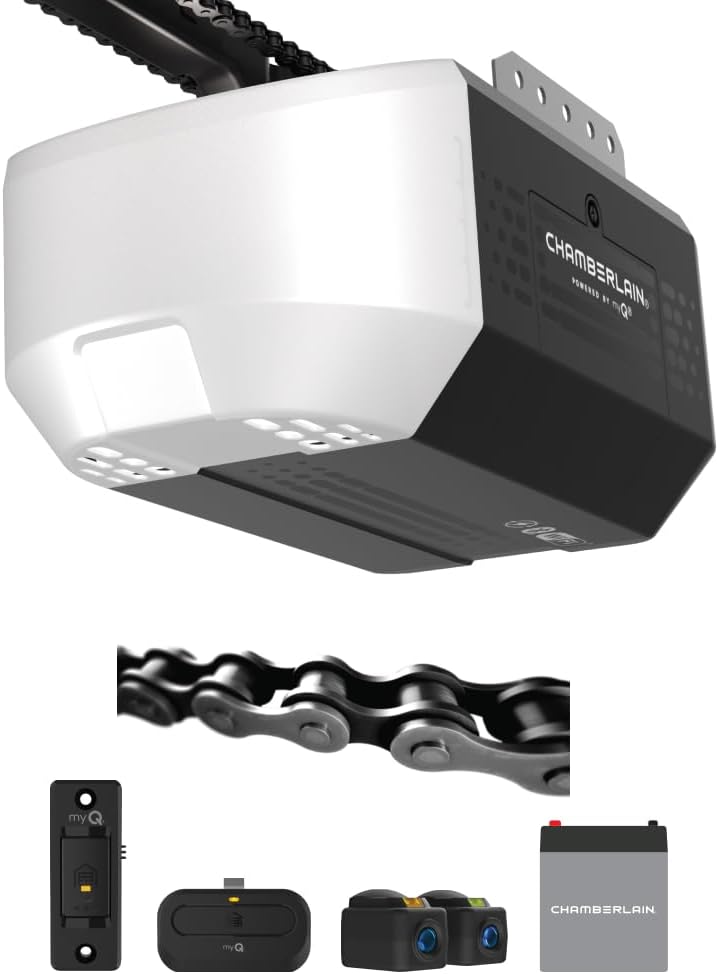
The ceiling-mount standard: Chamberlain Chain Drive myQ Garage Door Opener, 1/2 HP w/Battery Backup
 Visit on Amazon →
This is the opener I would put on 8 out of 10 garages in this city. It is a chain drive ceiling mount with a 1/2 HP motor, myQ connectivity, and a battery backup built in. That combination covers the three things that actually matter: it lifts a standard single or double door, it still works when the power is out, and it talks to an app without a bridge box.
The chain is the honest part of this machine. It is louder than a belt, and I will not pretend otherwise. If you have a bedroom directly above the garage and a light sleeper in it, the chain noise at 6 a.m. is a real cost, and it is the one reason I would send you to a belt drive instead. But a chain does not stretch the way people claim, it does not care about Oklahoma heat, and when it finally wears you can tension it with a wrench instead of replacing a belt.
The myQ side is where I would set expectations. Pair it once, confirm the wall button still opens the door when the router is unplugged, and then leave it alone. Owners who never touch the app again are the happy ones.
Flaws but not dealbreakers: Chain noise, as covered. And the battery backup is a maintenance item, not a forever feature. In a garage that hits 120 degrees in August, plan on replacing that battery every couple of years. A backup you never test is a backup you do not have, so hit the test button twice a year.
This is the pick for a standard two-car garage with living space beside it rather than above it, and for anyone who wants a part they can buy in town on a Saturday.
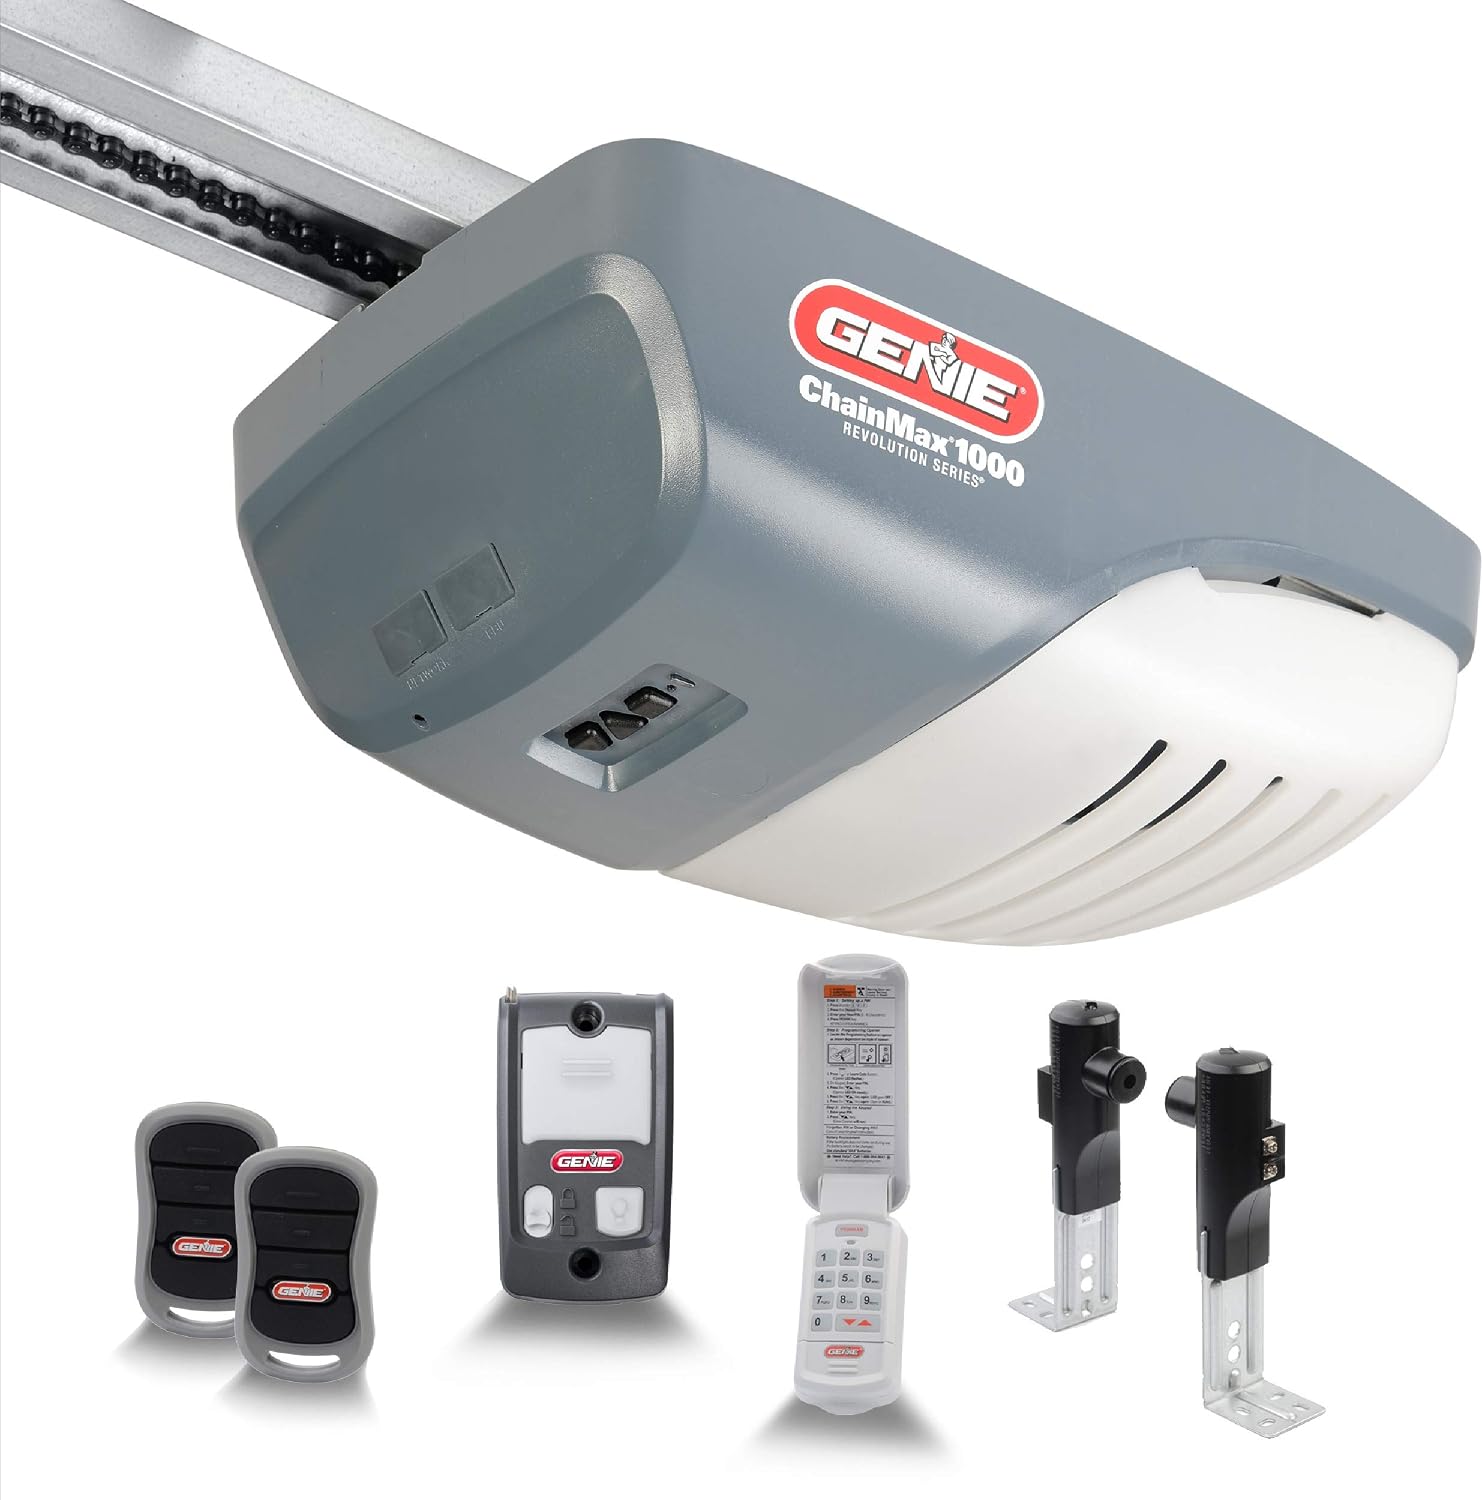
The wall-mount upgrade: Genie 6072H-B Wall Mount Garage Door Opener with Battery Backup, Wall Mounted & Space Saving
 Visit on Amazon →
This is the one I recommend when the ceiling is spoken for. It mounts on the wall beside the door instead of hanging a rail over your head, which frees up the entire overhead space for storage, a lift, or a low ceiling that never had room for a rail in the first place. It also keeps the opener out of the attic heat pocket that cooks motors and batteries, and that alone is worth something in a Tulsa summer.
Battery backup is on board here too, so the wall mount does not cost you the emergency exit. For a household where the garage is the way out when the power dies, that is the whole ballgame.
The trade is that a wall mount is a different install. There is no rail to square, which saves you the most common mistake I see, but you are mounting into wall framing and tying into the door's torsion side, and you need the wall space to be clear. Measure before you order, and check that your door hardware gives you a clean spot to work.
Flaws but not dealbreakers: It costs more, and it is not the right answer for a detached garage where nobody cares about noise or ceiling space. It also needs a nearby outlet, which some garages have and some very much do not.
This is the pick for a garage with a low ceiling, a car lift, overhead storage, or a bedroom above it where you want the machine off the ceiling entirely.
How to install a garage door opener, step by step
This is the order that works. Skip step one and the rest is decoration.
Step one: Balance the door and test the safety reverse. Pull the release cord so the door is disconnected from the opener. Lift the door halfway by hand and let go. It should stay where you put it. If it falls, the springs need a professional, and I mean that literally: torsion springs are lethal, and that is not a job for a homeowner with a YouTube tab open. Once it holds, lift the door to waist height and let it drop. It should close under its own weight with a little help, not slam. A balanced door takes about 10 pounds of force to lift, and that is what your opener is designed to move.
Step two: Check the ceiling, the header, and the power. For a ceiling mount, you need solid framing above the center of the door and a header above the door itself for the bracket. For a wall mount, you need clear wall space beside the track and framing behind it. Both need a live outlet within cord reach. If the outlet is switched, tape the switch on. I have chased that one more than once.
Step three: Kill the power and clear the tracks. Breaker off, and confirm it with the wall button. Then inspect the vertical and horizontal tracks, tighten every bolt, and wipe the rails down. A loose track makes a new opener sound like a bad one.
Step four: Assemble the rail on the floor. Do this before you go overhead. Lay the rail sections out straight, join them, and run the chain or belt per the manual. A rail assembled on a bench is straight. A rail assembled while you hold it over your head is not, and a crooked rail is the single most common cause of a stripped gear.
Step five: Set the header bracket. Find the center line of the door, mark it on the header, and get the bracket level. Measure twice. Everything downstream hangs off this one bracket, and being half an inch off here means your rail is fighting the door forever.
Step six: Hang the motor unit. Get help. A motor unit on a ladder is a two-person job, and the rail is awkward in a way that surprises people. Hang it, check the rail for level, and adjust the hangers until the rail runs straight back from the header bracket with no sag.
Step seven: Attach the door arm and bracket. Connect the arm to the door, and make sure the bracket lands on a structural point on the door, not on a thin panel. Then re-engage the release and check that the arm travels without binding.
Step eight: Wire the photo-eyes. Mount them 6 inches off the floor on both sides of the door, aimed at each other, and run the wire up the track so it does not sag into the door path. Sunlight is the enemy here. If the sun hits one eye at the same time every afternoon, shade it or move it, or you will be realigning it forever.
Step nine: Set the travel limits and the force. Use the manual's procedure, not your hand. Run the door open and closed with the limits set short, then extend them until the door seats fully without the motor straining. The force setting should be the lowest value that closes the door reliably, because the force setting is your safety system, not a performance knob.
Step ten: Test the safety reverse. Lay a 2x4 flat on the floor in the door's path and close the door. It must reverse on contact. Then wave a hand through the photo-eye beam while the door is closing. It must reverse there too. Do both tests monthly. This is the test that keeps children and pets alive.
Step eleven: Pair the remotes and the app. Pair one remote at a time and label them. Then pair the app, and immediately confirm the wall button still works with the router unplugged. Local control is the feature you will care about most during an outage.
Step twelve: Test the battery backup. Pull the breaker and open and close the door on battery power. If it does not lift the door on battery, the battery is already gone, and you found out in your driveway instead of during a storm.
The competition and why it lost
Belt drive openers are the other obvious answer here, and for a bedroom-above-garage house they are a legitimate first choice. I left them out of this guide because the two openers above cover the ceiling mount and the wall mount decision, which is the decision most homeowners actually face. If quiet is your only priority, belt drive belongs on your list, and the $30 to $50 it usually adds is money well spent for a light sleeper.
Screw drive openers exist for people who want fewer moving parts, and they work, but the parts network is thinner and I see them less often in the field. Off-brand openers with plastic gears in the gear case are the ones that fill my failure drawer, and no "heavy duty" sticker on the box changes what the gear is made of. Openers that require a cloud login to open the door from the wall button are a category I would avoid entirely, because a garage door is a piece of emergency equipment and it should not need the internet to work.
What this all costs
The labor number is the one people forget. I charge $150 to $250 for an install, and that price exists because of step one and step nine. Most of my repair calls are DIY installs where the rail went up crooked or the limits were set by ear, and the fix costs more than the original install would have.
The hardware itself is the smaller half of the math. Check current Amazon price on both openers above and compare them against what you would pay a pro to hang and tune one. Over ten years, the difference between a well-balanced door with a correctly set opener and a door that fights its motor is one replacement versus none, plus a service call you did not want.
Do the balance test first. It is free, it takes five minutes, and it decides whether any of this works. Then pick your drive, hang it straight, and set the limits by the book. That is the whole job, and a door that runs right for 15 years is the only review that matters.