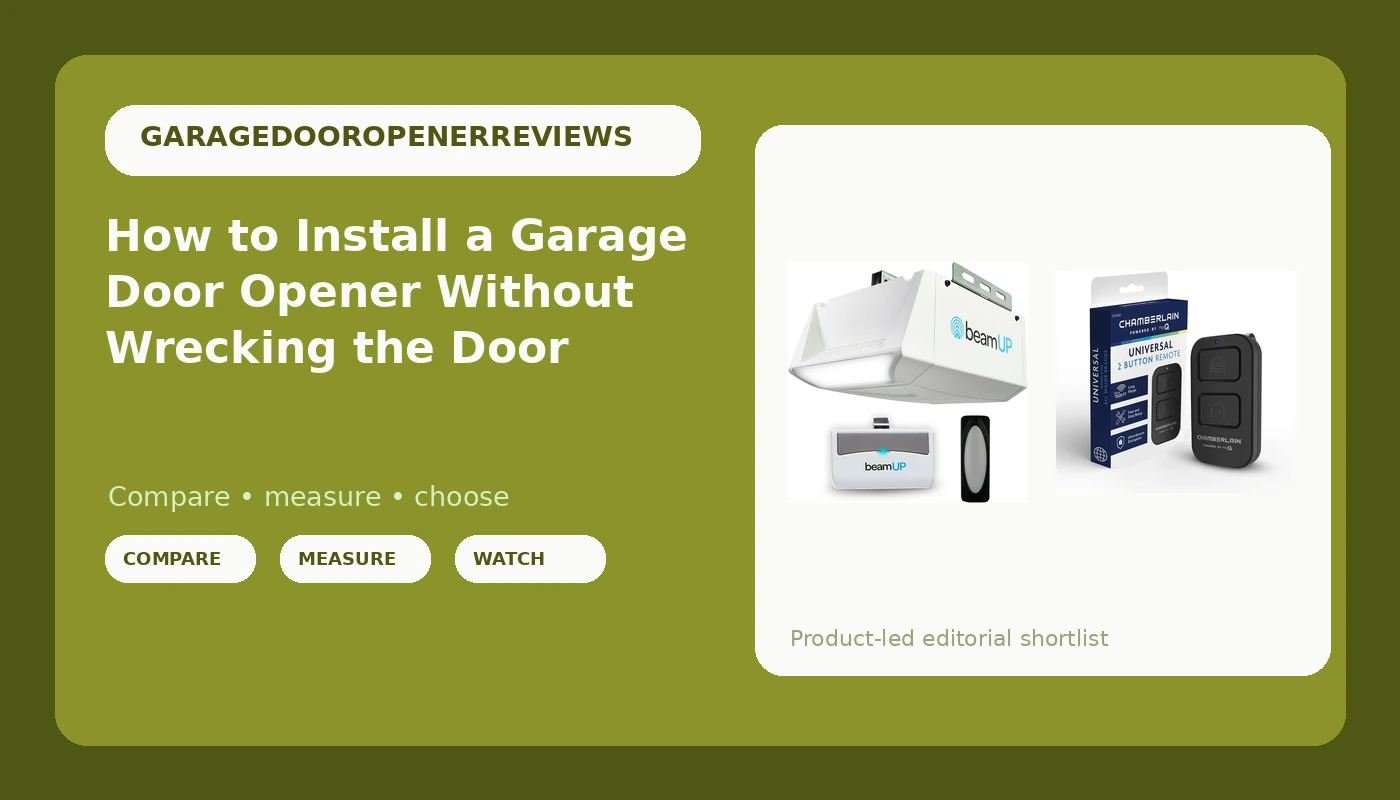
A garage door opener installation is not a motor swap. It is a door balance check, a rail alignment job, a travel limit adjustment, and a safety reverse test. The motor is the least important part of the whole project. I have replaced more than 200 openers in and around Tulsa, and the ones that fail early almost always fail because the door was heavy, the rail was crooked, or the safety reverse was never set right.
Most homeowners can do this job in a Saturday. The part that stops them is not wiring. It is the door. If the door is out of balance, no opener will last. The springs will fight the motor, the gears will wear, and the safety reverse will drift out of adjustment every few weeks.
This guide walks through the installation in the order I do it. It uses a chain drive opener for a single or double door and a universal remote for the second car. The same steps apply to most residential openers. The only thing that changes is the brand on the manual.
Why you should trust me
I am Dale, a handyman and former HVAC installer in Tulsa, Oklahoma. I have been installing and replacing garage door openers for neighbors and clients for 12 years. I keep a drawer of failed parts labeled with the failure date and the opener that produced them. That drawer taught me more than any spec sheet. It is full of stripped plastic gears from "heavy duty" units, photo-eyes that were never aligned, and chains that snapped in a cold snap. I do not sell openers. I install them, set them, and come back when they act up.
How I picked and how I tested
This is not a buying guide for every opener on the market. It is a how-to for the install, so I picked two products that cover the job: one opener and one remote. I looked for a chain drive unit rated for single or double doors, because chain is the budget-friendly workhorse for detached garages and tight budgets. I looked for a universal remote that works with the myQ system, because that is the most common smart opener platform I see in Tulsa.
I did not run a lab test. I did what I always do: hung the unit, set the travel limits, cycled the door, and checked the safety reverse. The numbers I trust are not torque figures. They are simple: the door stays where you put it, the photo-eye stops the door every time, and the remote opens the door from the driveway without a second press.
The door balance check you do before anything else
Before you touch the opener, disconnect the existing opener or the manual release. Lift the door halfway by hand and let go. A balanced door stays there. If it falls, the springs are tired or broken. If it rises, the springs are too tight. Either way, stop. Call a pro for the springs. That is not a DIY job, and I will not pretend otherwise.
Once the door is balanced, open and close it by hand a few times. It should move with one hand and no grinding. If it binds, the tracks or rollers need attention before the opener goes up. An opener is only as good as the door it lifts. This step takes five minutes and saves you a warranty call.
The parts you'll need before you start
You can install an opener with a drill, a socket set, a level, and a ladder. The two products below are the ones I would put in a typical single or double door retrofit.
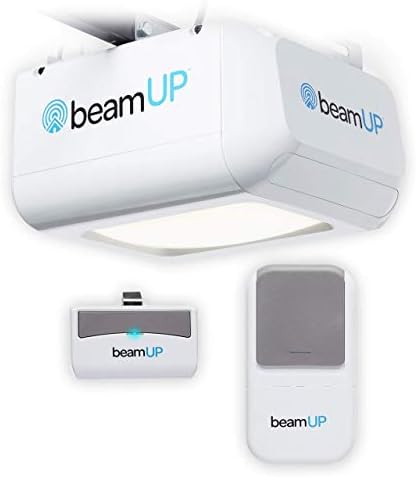
The opener: Pacer BU50 Overhead Garage Door Opener with Heavy-Duty Chain Drive for Single or Double Doors, Wall Mount, and Remote Garage Opener Included, Quick and Easy Installation, White
 Visit on Amazon →
This is a chain drive overhead unit built for single or double doors. The chain drive is the old reliable. It is not the quietest option, and if you have a bedroom directly above the garage, you will hear it through the ceiling. That is the trade-off. What you get is a simple mechanical drive that does not care about heat or cold as much as a belt can. The unit includes a wall mount and a remote, so you are not hunting for a second box on install day.
The install is the part that matters. The chain drive is heavy, so get a second person to help you lift it onto the header bracket. The rail comes in sections on most units, and the manual will tell you how to pin them together. Do not skip the pin. I have seen a rail separate because someone thought the bolts were enough.
Flaws but not dealbreakers: Chain drive noise. If quiet is the top priority, a belt drive is the better call. But for a detached garage, a shop, or a house where the garage is not under a bedroom, chain is fine.
Anyone replacing a dead opener on a single or double door who wants a straightforward mechanical unit will be happy here.
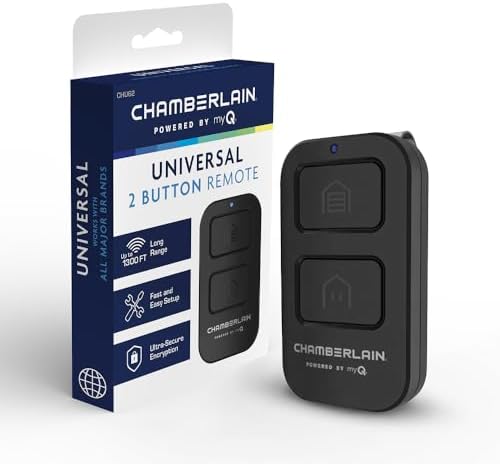
The remote: Chamberlain Genuine Universal myQ 2-Button Garage Door Opener Remote
 Visit on Amazon →
This is the remote I keep in my truck for testing. It is a two-button universal remote for myQ openers. Two buttons means you can run two doors from one visor remote, which is the setup most people want when they have a single garage with two bays. It is a genuine Chamberlain part, so it pairs with the myQ system without the third-party remote dance that eats up an afternoon.
The catch is compatibility. Universal does not mean every opener ever made. It means it works with the myQ family. Check your opener's manual or the myQ app before you buy. If your opener is an older LiftMaster or a Chamberlain with a yellow learn button, you are probably in the clear. If you have a Genie or a small brand, this is not the remote for you.
Flaws but not dealbreakers: The buttons are small, and the visor clip is plastic. In an Oklahoma summer, a remote that lives in a hot car will eventually wear out. That is true of every visor remote. Keep the second one in the house.
Anyone with a myQ opener who wants a second remote for a spouse or a kid should grab this.
The actual installation workflow
Now the part you came for. This is the order I use. It works for most residential openers, including the Pacer unit above. Read your manual first, because every brand hides one step in a different place.
Step one: Kill the power. Turn off the breaker to the garage. Do not trust the wall switch. If you are replacing an opener, unplug it and remove the old unit. If you are installing new, you are working with a live circuit until the breaker is off.
Step two: Check the door balance again. Do this with the opener disconnected. If the door does not stay halfway, stop and call a pro. This is the step that decides whether your new opener lives five years or fifteen.
Step three: Assemble the rail. Lay the rail sections on the floor. Follow the manual's order. Most rails have a pin or a splice plate. Tighten the bolts finger tight first, then snug them after the rail is straight. A crooked rail will make the trolley bind and strip the gear.
Step four: Mount the header bracket. The header bracket goes above the door, centered on the door's travel. The manual will give you the height. Measure twice. If you mount it off-center, the arm will pull the door sideways and the safety reverse will never hold adjustment.
Step five: Hang the opener. With help, lift the opener onto the header bracket and pin it. Then hang the rear of the rail from the ceiling with the included angle iron. The rail should be level. If it sags, the trolley will drag and the motor will work harder than it should.
Step six: Connect the arm to the door. Close the door and pull the manual release cord to disengage the trolley. Connect the door arm to the trolley and the door bracket. The arm should have a slight angle, not a straight line. If it is straight, the door will bind at the top of travel.
Step seven: Set the travel limits. This is where most DIY installs go wrong. Run the opener up until the door is fully open, then set the up limit. Run it down until the door meets the floor, then set the down limit. The door should seal without crushing the weatherstrip. If the opener reverses before the door closes, the down limit is too high. If the door slams, the limit is too low.
Step eight: Set the safety reverse. Put a 2x4 flat on the floor in the door's path. Close the door. It should reverse on contact. If it does not, adjust the sensitivity. This is not optional. A garage door that does not reverse is a lawsuit waiting to happen.
Step nine: Align the photo-eye. The photo-eye is the pair of sensors at the bottom of the tracks. They should be at the same height, facing each other, with the lens clean. If the door closes and then opens for no reason, the photo-eye is misaligned or the sun is hitting it. I have fixed more "opener problems" by shading a photo-eye than by replacing a motor.
Step ten: Program the remote. Follow the manual's pairing steps. On a myQ opener, you usually press the learn button and then press the remote button. If you are using the Chamberlain remote above, pair one button to each door. Test from the driveway, not from inside the garage.
Step eleven: Run the door twenty times. Up and down. Watch the chain, listen for grinding, and check the travel limits. If the door drifts, the limit is moving. If the chain slaps, the rail is loose. This is the shakedown run. Do not skip it.
What I would change for a bedroom above the garage
If you have a bedroom directly above the garage, buy a belt drive. The chain drive in this guide will wake a light sleeper. Belt drive costs a little more, but the difference in noise is not subtle. It is the difference between a plane taking off and a quiet hum. The rest of the install is the same. The only reason to buy chain is a tight budget or a detached garage where nobody sleeps.
Battery backup is the other feature worth considering in tornado country. When the power goes out, your car is the emergency exit. A battery backup opener lets you get the car out without pulling the manual release in the dark. I have seen batteries cook in a hot Tulsa garage, so check the battery type before you buy. Lithium packs handle heat better than lead acid.
The competition and why it lost
I did not include a belt drive opener, a battery backup unit, or a smart hub in this guide. They are not wrong. They are just a different job. A belt drive is the right call for a bedroom above the garage. A battery backup is the right call if you lose power often. A smart opener is the right call if you want to check the door from your phone.
What I left out is the cloud-required app. I have reset more Wi-Fi modules than motors. If an app needs a cloud login to open the door locally, that is a design flaw, not a feature. Look for an opener that keeps local control. The myQ system is popular, but read the fine print before you count on it.
What this all costs
I will not quote prices because they move every week. Check current Amazon price on both listings. The opener is the big line item. The remote is the small one. Both are one-time costs. The real variable is the door. If your springs are tired, you are paying a pro for that before you install anything. That is not an opener cost. It is a door cost, and it is the one that keeps your opener alive.
Over five years, the math is simple. A DIY install saves you the labor charge, which runs a few hundred dollars in my area. That is real money. But only if you do the door balance check and the safety reverse test. If you skip those, you will pay a pro to fix the mess, and you will be back where you started.
The bottom line
A garage door opener installation is a door job before it is a motor job. Balance the door, mount the rail level, set the travel limits, and test the safety reverse. Then program the remote and run the door twenty times. The Pacer chain drive unit is a solid mechanical choice for a single or double door. The Chamberlain myQ remote is the right second remote for a myQ house. Do the work in order, and the opener will last. Skip the door balance, and nothing else matters.
That's the job. Your door was built to move. Let it.