Most garage door opener installation jobs fail before the first bolt goes in. Not because the homeowner bought the wrong unit, but because nobody checked whether the door itself was worth lifting. A 150-pound door with tired springs will kill a brand new opener in two years, no matter how good the motor is.
I've hung over 200 of these in and around Tulsa, and I can count on one hand the number of times the problem was the motor. It's almost always the door, the rail, or the photo-eyes.
This is the order I work in, and it's the order that keeps you off a ladder twice.
Why you should trust me
I spent twelve years installing HVAC equipment before I started doing garage doors full time, and the two trades teach the same lesson: the mechanical envelope decides whether the equipment lives or dies. A furnace in a closet with no return air is a furnace that dies young. A garage door opener on a door that won't hold position is the same story.
I keep a drawer of failed parts. Every one has the failure date and the opener that produced it written on masking tape. There are three stripped plastic gears in there from units that were advertised as heavy duty. There's one chain that snapped during a cold snap in January 2021. There's a photo-eye bracket that a client's teenager knocked out of alignment four times in one summer.
That drawer is why I write the way I write. The spec sheet is the least interesting part of the product.
How I picked and how I tested
This is a how-to, so the two openers below are the ones I'd actually put on a customer's ceiling, and I'll tell you which door each one belongs on. One is belt drive, one is chain drive, and the difference matters more than the price tag.
Before I touch an opener, I do the balance test on the door. Every door I work on gets the same check: disconnect the existing opener, lift the door by hand to waist height, and let go. A balanced door stays put or drifts slowly. A door that slams down is a door that will strip the gear on whatever you bolt to the ceiling.
I also look at the rail path, the ceiling structure above the door, and where the sun hits the wall near the floor. That last one is not cosmetic. A photo-eye that takes direct afternoon sun will trip the safety reverse at random, and the homeowner will blame the opener every time.
What I don't do is review a unit from a photo. If I haven't installed it, I say so.
Door balance comes first, always
Pull the emergency release cord so the door is disconnected from the opener. Lift the door by hand to about waist height and let it go.
- If it stays where you put it, or drifts an inch or two, the door is balanced and you can proceed.
- If it drops fast, the springs are weak and the opener will be fighting the full weight of the door on every cycle.
- If it rises on its own, the springs are wound too tight and the door is pushing the opener.
Weak or tight springs are a spring job, and spring work is a call-a-pro job. Torsion springs store enough energy to break a wrist or worse. I don't touch them and I don't talk anybody through them. Call the number on the side of the truck and pay the $200 to $300. It's cheaper than an emergency room visit.
While the door is disconnected, do the hand test on the tracks too. The rollers should roll without grinding and the door should not rub the weather seal on either side. Fix that now, because an opener that has to drag a door sideways through a pinched track is an opener that's going to forget its travel limits.
Which opener belongs on which door
Two drive types cover almost every residential install: belt and chain. Screw drive and direct drive exist, and jackshaft openers exist for the high-lift and low-headroom situations, but those are different conversations. For a standard seven-foot door with a standard ceiling, you're choosing between these two.
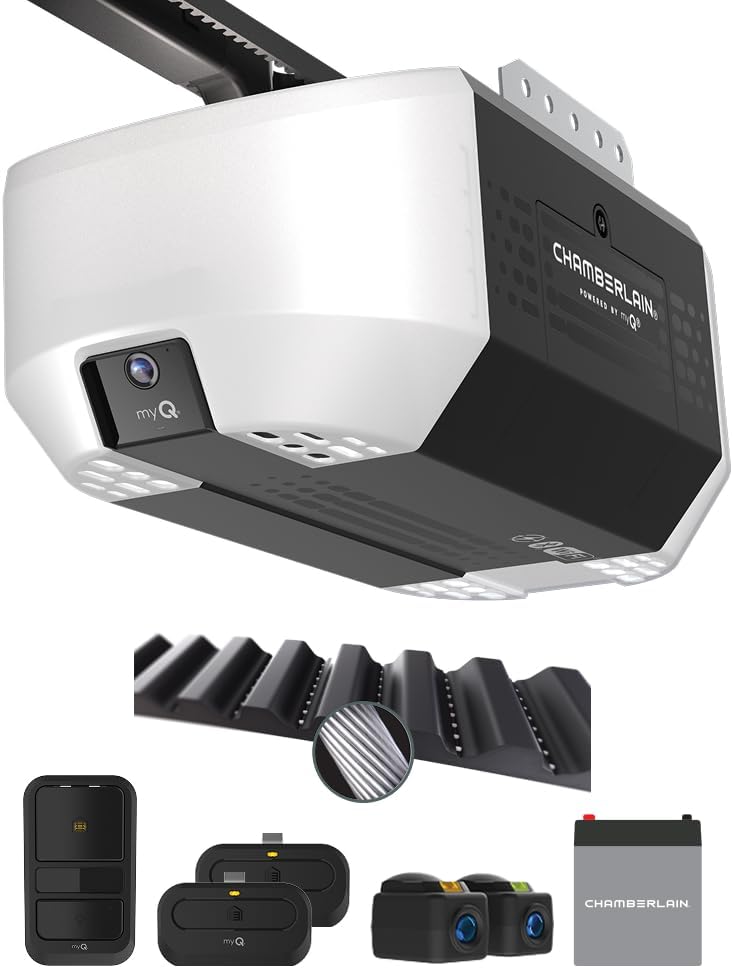
Quiet pick for a bedroom above the garage: Chamberlain Belt Drive myQ Garage Door Opener, 3/4HP w/Fixed Camera
 Visit on Amazon →
If there is a human being sleeping directly above that garage, this is the one. A reinforced rubber belt does not transmit the metallic clatter that a chain does, and the difference at 6 a.m. on a Saturday is the difference between a sleeping teenager and a teenager who is now awake and annoyed at you.
The 3/4 horsepower rating is more than a standard single-car door needs, and that headroom is a good thing. An opener that isn't straining is an opener whose gear case stays cool through an Oklahoma August. The myQ radio is the part most people buy it for, and I'll be honest about that: it works, it's reliable, and it will let you open the door from your phone when you're two states away and your neighbor needs to borrow a ladder.
The fixed camera is the feature I didn't expect to care about. It gives you a look at the bay whenever the door runs, which is genuinely useful if you've got kids coming and going or a package drop you want to keep an eye on.
Flaws but not dealbreakers: The belt is the wear item, and it's the reason I like this drive type anyway. Belts stretch slowly and give you warning. Chains snap. Also, any opener with a smart radio is going to need your Wi-Fi password and a firmware update now and then. If you hate apps, buy it for the belt and ignore the radio.
Anyone with a bedroom, a nursery, or a home office on the other side of the garage wall should be looking here first.
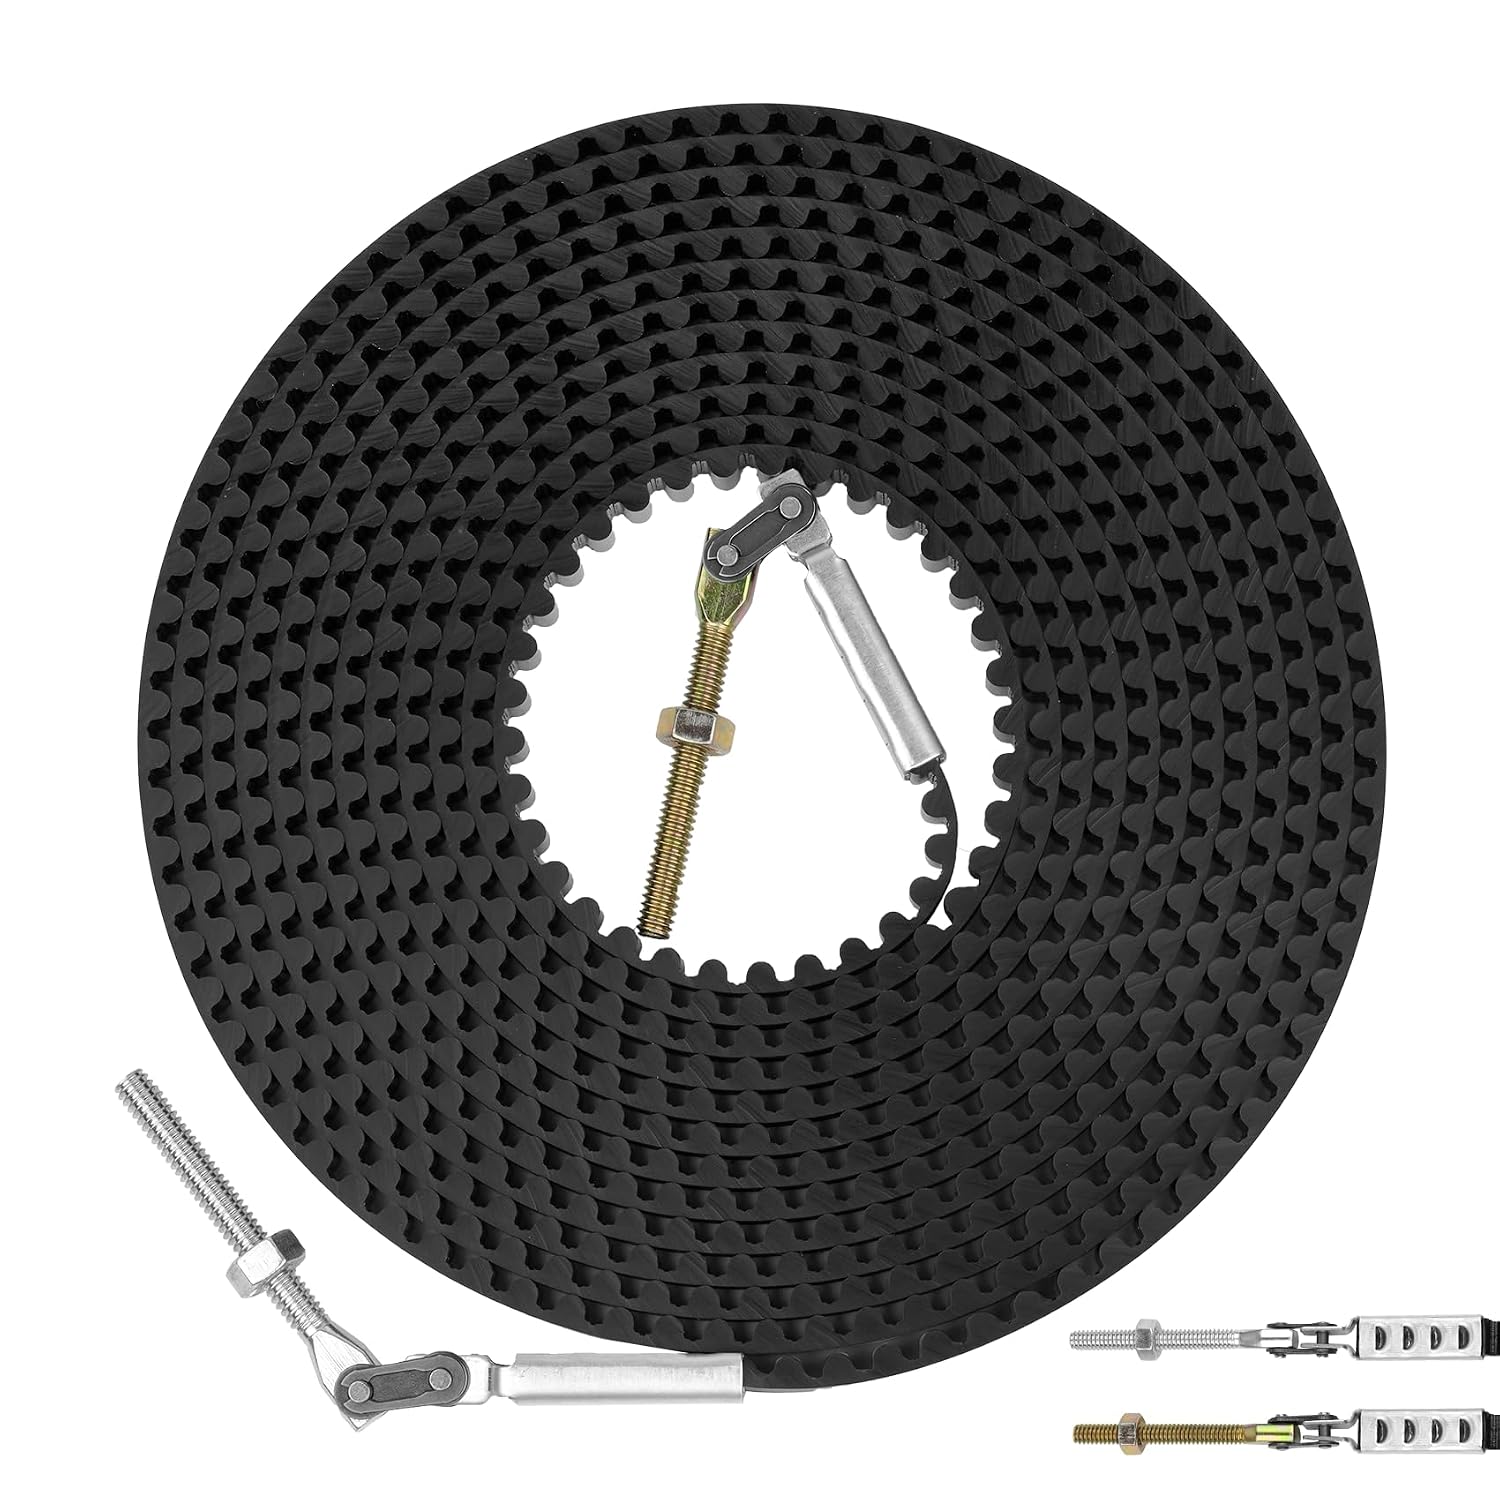
Budget pick for a detached garage: Genie Chain Drive 500 Garage Door Opener - Model 1035 - Reliable Chain Drive Garage Door Opener,Black
 Visit on Amazon →
A chain drive is louder, and that's the whole trade. For a detached garage, a shop, or a rental property where nobody is trying to sleep forty feet away, chain is the honest choice. The mechanism is simple, the parts are cheap, and a chain drive opener that gets a little grease once a year will outlast the door it's attached to.
This is the Genie I put on detached buildings and rentals. It's a straightforward unit: one-piece rail, chain drive, standard safety reverse, no app required for anything. That last point matters more than the spec sheet suggests. An opener that doesn't need a cloud login to run is an opener that still works when your internet is down and your phone is dead.
Flaws but not dealbreakers: It's loud. Not unbearable, but you will hear it from inside the house if the garage shares a wall with a living space. Chain drives also need occasional lubrication, and the chain tension needs a look once a year or so. Neither is hard, and neither is a reason to avoid it.
Anyone with a detached garage, a workshop, or a rental where the goal is a door that opens every time for the next decade should start here.
The installation, step by step
Now the part you came for. This assumes the door is balanced, the tracks are clean, and you have a second person for the rail and the motor head. Do not do the motor head alone. It's heavier than it looks and the ladder is not your friend.
Step one: Kill the power and clear the bay. Breaker off, not just the wall switch. Pull the old opener's release cord and disconnect the door. Take the old rail down and set the hardware aside. Sweep the floor so you're not hunting for a lost clevis pin in sawdust.
Step two: Find the header bracket location. The bracket goes on the header above the door, centered on the door's width. Most manufacturers give you a height range relative to the door's high point, and the manual for your specific unit is the authority here. Center it. Not close to center. Centered. An off-center rail is the number one cause of a door that drags on one side.
Step three: Hang the header bracket. Drill pilot holes, and if the header is not solid lumber, add a backer board. A bracket that pulls out of drywall is a bracket that drops a rail on somebody's car.
Step four: Assemble the rail on the floor. Do this on the ground, not overhead. Slide the rail sections together, install the trolley, and tighten everything before it goes up. Working overhead with loose hardware is how people lose parts and patience.
Step five: Attach the rail to the header bracket and raise the motor end. With your helper holding the motor head, pin the rail to the header bracket, then raise the motor end to the ceiling. This is the moment where you find out whether your ceiling joists land where you need them. If they don't, add a piece of angle iron or a plywood backer across two joists. Perforated angle iron is the right answer here, not a couple of lag bolts into the drywall.
Step six: Hang the motor end. Use the supplied hangers and keep the rail level. A rail that slopes toward the door means the trolley is climbing uphill, and that's a motor working harder than it should on every single cycle.
Step seven: Connect the door arm. Attach the arm from the trolley to the door's bracket. The door should be closed when you set this. The arm should have a slight angle to it, not a dead-straight pull, because the geometry changes as the door travels up the curve of the track.
Step eight: Set the travel limits. Run the opener and watch where it stops. It should stop with the door fully closed and fully open, with the door resting on the floor without bowing the bottom seal. Adjust the open and close limits until both ends land right. This is the step people rush, and it's the step that determines whether the opener lasts.
Step nine: Set the force or sensitivity. Every opener has a force adjustment. Set it just high enough to move the door. If you crank it up to make a dragging door move, you've turned a safety feature into a gear grinder.
Step ten: Align the photo-eyes. Mount them at the height the manual specifies, brackets solid, lenses facing each other. Check the indicator light on each unit. Then stand in the doorway and break the beam with your leg while the door is closing. It should reverse immediately. If it doesn't, stop and fix it before you do anything else.
Step eleven: Test the safety reverse. Lay a two by four flat on the floor in the door's path and close the door. It should hit the board and reverse. Test it every month, and test it after every power outage.
Step twelve: Pair the remotes and the wall control. On the smart unit, that means the app and the Wi-Fi. On the chain drive, that means the remote and the keypad. Do this last, after the door runs right, because there's no point pairing a remote to an opener that needs its limits adjusted.
The traps that cause callbacks
I've been called back to the same house twice for the same reason more than once, and it's almost never the opener.
- The rail is out of level. The door opens fine for a month and then starts stalling halfway. Level the rail.
- The photo-eye bracket is flimsy. A bracket that flexes when the door slams will need realignment forever. If yours is thin stamped metal, brace it.
- Afternoon sun on the receiving eye. If the sun hits the lens, the door reverses for no reason. Move the bracket a few inches or shade it with a short piece of split tubing.
- The door is out of balance again. Springs weaken over time. Recheck the balance every year.
- Travel limits drift after a power outage. If your opener forgets its limits every time the power blinks, that's a control board problem, not something you're doing wrong.
What this job costs you in time
If you've never done one, budget a full Saturday. The opener itself is a few hours. The door balance check, the track cleanup, and the second trip to the hardware store for the right lag bolts are the rest of it.
If you hire it out, a straightforward single-door install runs $150 to $250 in labor around here, plus the unit. That's the number I charge, and I've talked plenty of homeowners into doing it themselves because their ceiling was wide open and their door was already balanced.
The math is simple. A door that's balanced and a rail that's level is a fifteen-year opener. A door that's dragging and a rail that's crooked is a five-year opener and a repair bill you didn't plan for.
Why other openers aren't in this guide
Screw drive openers are a real option and they sit between belt and chain on noise. I left them out because the segment is thin now and the parts availability isn't what it is for the two drives above.
Jackshaft openers, the ones that mount on the side wall instead of the ceiling, are the right answer for a garage with a low ceiling or a high-lift door. That's a different install with a different set of traps, and it deserves its own writeup.
Direct drive units are quiet and clever and I've replaced a few. When they fail, they fail as a unit.
Commercial openers are a separate category entirely. Different duty cycle, different wiring, different everything. If you've got a roll-up door on a shop bay, this article is not for you.
Last word
Do the balance test before you spend a dollar. Then pick the drive type based on who sleeps above the garage. Then take your time on the header bracket and the travel limits, because those two things decide whether you're doing this again in five years.
That's the whole job. The motor is the easy part.