Most garages have a chain drive opener bolted to the ceiling, a rail running down the middle of the room, and a light bulb you cannot change without a ladder. A wall mount garage door opener fixes all three problems at once, because it lives on the side wall next to the torsion bar and leaves the ceiling alone. That is the pitch, and it is a good one.
Here is the catch nobody mentions on the product page. A wall mount unit does not pull the door up by the middle. It twists the torsion bar, which means every bit of the door's weight and balance runs through that bar, the drums, and the cables. If your door is out of balance, a ceiling opener fights it and eventually strips a plastic gear. A wall mount unit has nothing to fight with. It just wears out faster.
I have replaced over 200 openers in and around Tulsa in 12 years, first as an HVAC installer and then on my own. I have a drawer of failed parts in the shop, each one labeled with the failure date and the opener that produced it. The wall mount jobs that failed are almost never motor failures. They are door problems that were there before the box was opened.
Why you should trust me
I am Dale. I am 55, I live in Tulsa, and I have been the guy neighbors call when the door stops halfway up at 6:40 in the morning. Twelve years, 200 plus openers, everything from 1960s wood doors on extension springs to new insulated steel on torsion bars.
I am not a brand loyalist. I do keep track of what fails and why, and I will tell you when the honest answer is "your door is the problem, not the opener." I will also tell you when the honest answer is "call a pro," and springs are the big one. I do not touch springs beyond checking them, and neither should you. That is a lethal DIY and it is the one boundary I hold hard.
What a wall mount opener needs from your door
Before you spend a dime, answer these four questions. If any answer is wrong, stop and fix the door first.
Does the door have a torsion bar? Look above the door for a horizontal steel shaft with springs wound around it and cables running to drums at each end. That shaft is what a wall mount opener drives. If instead you see two springs stretched lengthwise above the horizontal tracks, you have an extension spring door. Wall mount units do not apply to it. Converting to torsion is a pro job and it is worth doing if you want the wall mount setup, but it is a separate project with a separate bill.
Is the door balanced? Pull the manual release so the opener is disconnected, lift the door to about waist height, and let go. A balanced door stays put. If it slams down, or if it floats up on its own, the springs are wound wrong or worn out. Call a tech. Every opener I have seen die young was lifting an unbalanced door.
Do you have the side room? The unit bolts to the wall beside the door, usually on the jamb side near the torsion bar. You need framing to lag into, not drywall and hope. You also need a outlet within reach, or a plan to add one, because you are not running an extension cord across the garage ceiling.
Is the door under the rated weight and height? Wall mount units are rated, and the rating is not a suggestion. Weigh the door or have it weighed. A 16 foot double door in insulated steel can surprise you.
One more thing while you are out there: if the door is a one piece tilt up design, a wall mount opener is usually the wrong tool. This guide is for sectional doors that roll up into the ceiling.
The opener and the bench kit
The opener below is the one I would put on a wall mount job today. The second item is a shop bench kit that has nothing to do with your garage door, and I am going to be honest about why it is here instead of pretending it belongs on the torsion bar.
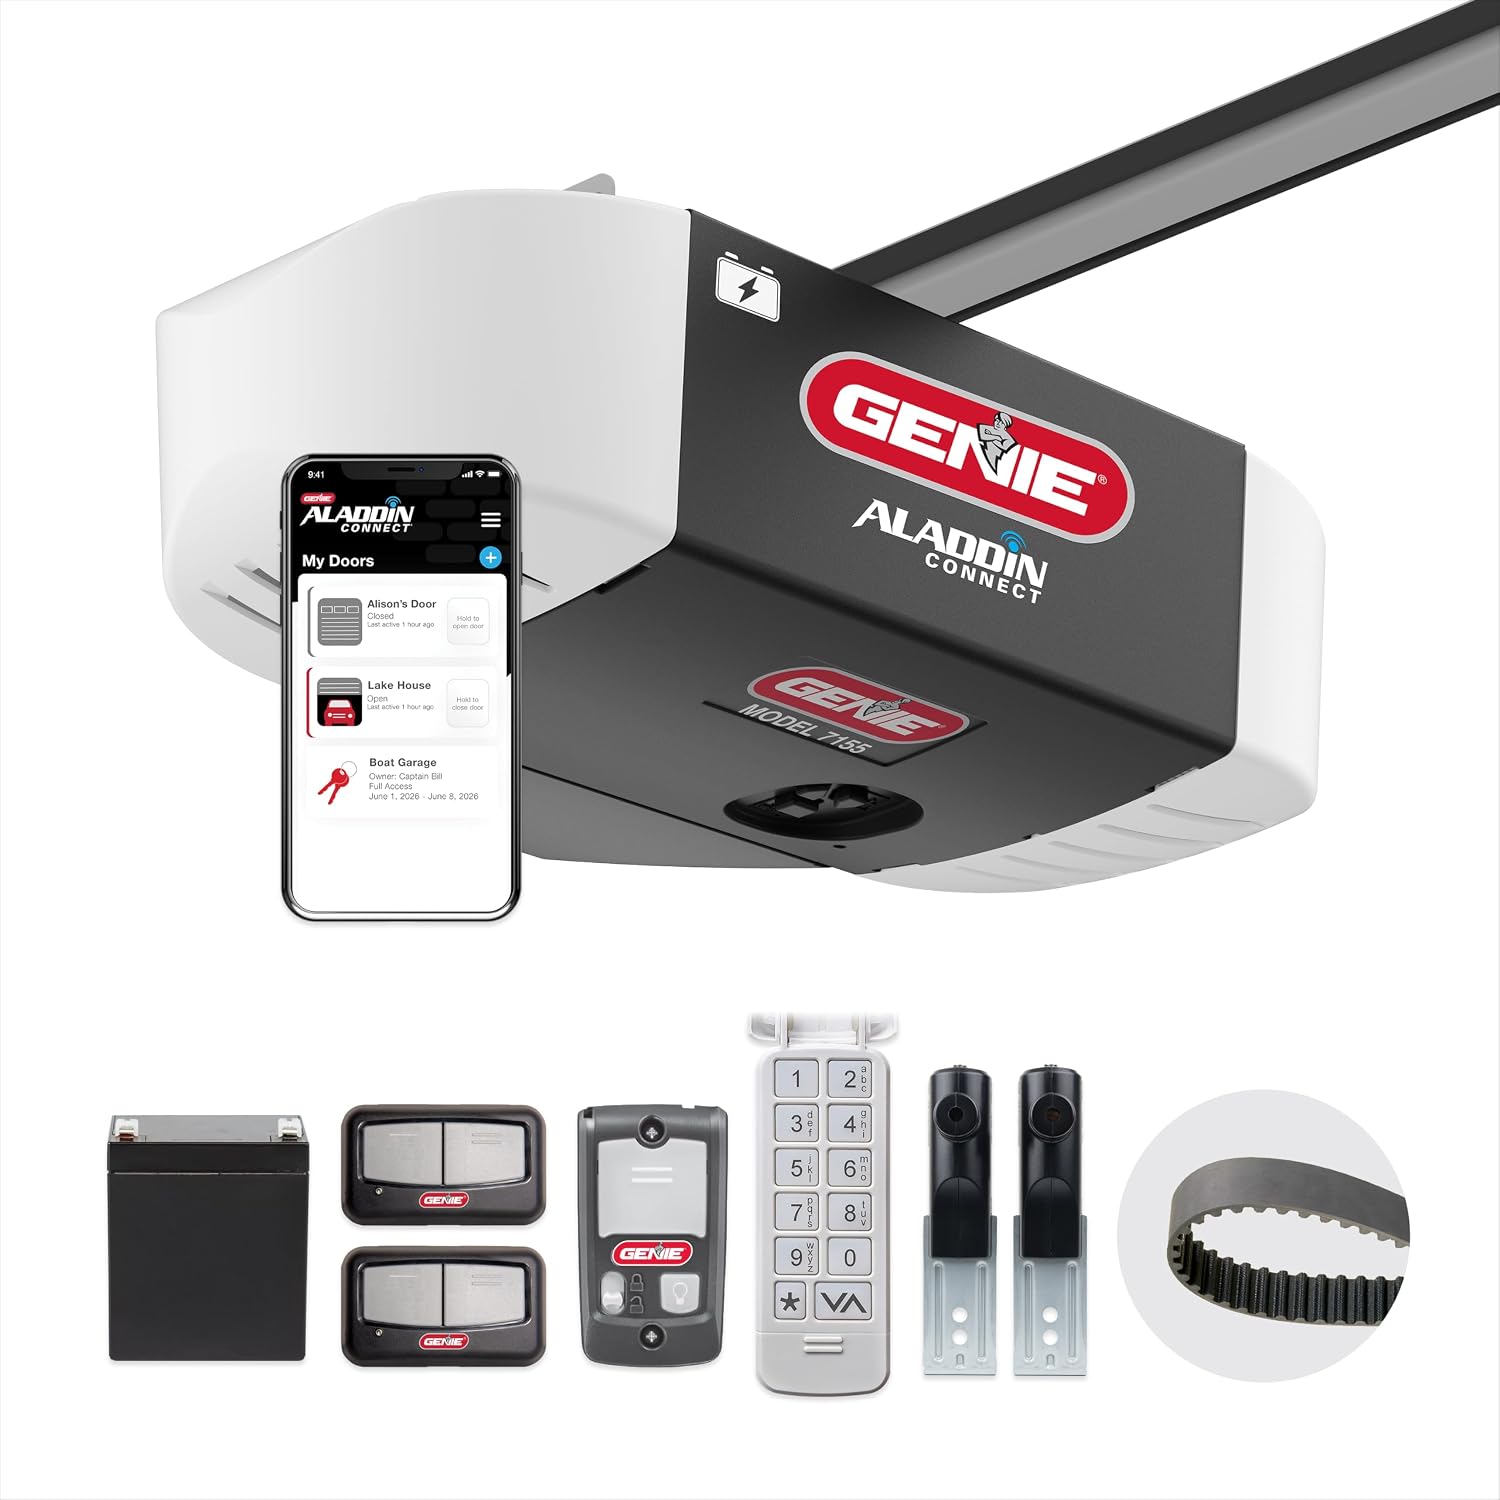
Our pick: Genie B6172H Wall Mount Smart Garage Door Opener, DC Motor Lifts up to 14ft high 850lbs, Black
 Visit on Amazon →
This is a wall mount smart opener with a DC motor, rated for doors up to 14 feet high and 850 pounds. Those numbers are the whole reason it makes this list. Fourteen feet of height covers the tall RV bay and the lifted truck garage that a standard ceiling rail cannot handle, and 850 pounds covers a heavy insulated double door with glass.
The DC motor is the part I care about most. Direct current motors ramp up and ramp down instead of slamming into motion, which is gentler on the torsion bar, the cables, and the drums. On a wall mount unit that matters more than it does on a ceiling unit, because there is no rail and no trolley to absorb the shock. Everything goes through the bar.
Mounting on the wall also means the ceiling stays clear for storage, lights, and a basketball hoop that will not get taken out by a rail. And if there is a bedroom above the garage, a side wall mounted unit moves the noise off the ceiling joists, which is the single biggest complaint I get from homeowners.
The smart side is where the support calls live. Pairing the app is a five minute job when the Wi Fi is strong at the garage and a 45 minute job when it is not. Do the pairing before you hang the unit if you can, standing in the house with your phone, rather than on a ladder in the cold.
Flaws but not dealbreakers: Wall mount means torsion bar only, so if your door is on extension springs this unit is not for you until that changes. Also confirm you have framing on the jamb side, because the mounting plate needs real lumber, not a hollow wall.
This is for the homeowner with a tall door, a heavy door, or a bedroom over the garage who is tired of the rail and the noise.
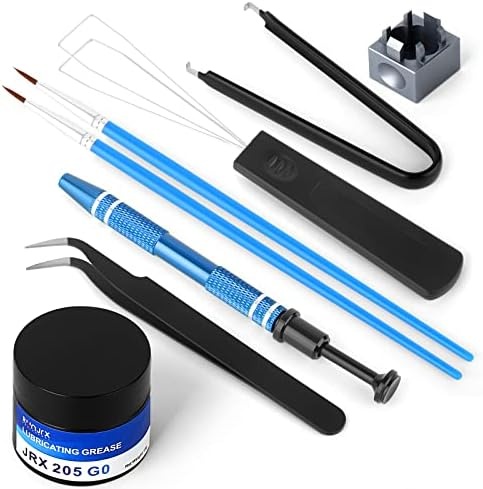
Bench extra: RUNJRX Keyboard Lube Kit and Switch Lube 15g/0.53oz JRX-205 G0 with Switch Opener Tweezers for Custom Keyboard
 Visit on Amazon →
Let me be straight with you: this is a keyboard kit. The lube in the tin is for mechanical keyboard switches, not for garage door rollers, torsion bars, or opener gears. Do not put it on anything that lifts a door. Opener lubrication is a different product and a different conversation, and the wrong grease on a torsion bar is worse than no grease at all.
So why is it in an install guide? Because the two tools in the box earn their place on the bench. The switch opener and the fine tweezers are exactly what you want when you are fishing a tiny retaining clip out of a wall button housing, pulling a spade connector off a photo eye, or holding a stripped wire while you re crimp it. I keep tweezers in my pouch for precisely that reason, and the fine tips get into the tight spots a needle nose pliers cannot.
If you already build keyboards, this is the kit you would buy anyway, and it happens to double as bench jewelry for small electronics work. If you do not, and you only need tweezers for opener work, buy tweezers.
Flaws but not dealbreakers: It is a hobby kit, so the quantities are small and the lube is a specialty formula. Nothing here is designed for heavy mechanical duty, and nothing here should touch your door hardware.
This is for the tinkerer who wants one tidy kit for switch work and small connector work at the same bench.
The install, step by step
Now the actual job. Budget a full day if this is your first one, and do not start it at 4 in the afternoon.
Step one: Kill the power and test the door by hand. Trip the breaker that feeds the garage opener circuit, not just the wall button. Then release the door from the old opener and run it up and down by hand three or four times. It should move with one hand and stay where you leave it. If it does not, stop here. You are fixing the door first.
Step two: Clear the old hardware. If you are replacing a ceiling unit, take down the rail and the head unit, and label the wires as you go. The two wires from the wall button and the two from the photo eyes are the only low voltage wires you will reuse. Tape the ends so they do not fall back into the wall.
Step three: Find the framing and mark the plate. Hold the mounting plate against the wall beside the door, level, with the drive collar lined up with the torsion bar. Mark the holes and confirm you are hitting a stud or a header. If the wall is hollow, add a backer board bolted across two studs. This is the step where most DIY installs go wrong, and it is the one that decides whether the unit stays square for ten years.
Step four: Bolt it up and couple it. Lag the plate to the framing, hang the unit, then attach the coupler to the torsion bar per the instructions. Do not fully tighten the coupler until the unit is square and the manual release works smoothly. You should be able to pull the release and run the door by hand with the unit still bolted in place.
Step five: Set the travel limits. Run the door with the wall button and watch it. Set the open limit so the door stops with the bottom seal just clear of the header, and the close limit so it seats on the floor without bowing the bottom section. Modern units have a learn mode that finds the limits on its own, but you still have to watch the door and confirm.
Step six: Set the force and test the safety reverse. Lay a 2x4 flat on the floor in the door's path and close the door on it. The door must reverse on contact. If it just presses down and stalls, back the force setting down until it reverses. A door that will not reverse is a door that will hurt someone.
Step seven: Mount and align the photo eyes. Six inches above the floor, brackets solid, lenses facing each other square. In Tulsa, the south facing garage gets direct sun through the door in the late afternoon, and that is what blinds a photo eye. If yours trips every sunny day, shade the receiving eye with a short piece of black tubing or move the pair back from the door opening.
Step eight: Pair the remotes and the app, then write down the limits. Pair one remote at the unit, then the app. Once everything runs clean, take a Sharpie and write the open and close limit numbers on the jamb above the wall button. When the power goes out and the unit forgets its limits, and it will, you will have the numbers instead of a 20 minute guessing game on a ladder.
The competition and why it lost
A ceiling mounted belt drive is still the right answer for a lot of garages, and I say that as someone who prefers wall mount. If your door is a standard 7 foot sectional on a torsion bar, the ceiling is clear, and nobody sleeps above the garage, a belt drive ceiling unit will do the job for years with less money and an easier install. It is the simpler machine.
Chain drive is the budget answer and it is loud. In a detached garage, who cares. In an attached garage under a bedroom, you will care at 5:45 in the morning.
The reason wall mount wins in specific houses is the specific problem it solves: tall doors, heavy doors, ceiling space you actually want to use, and noise directly under a bedroom. If none of those apply, you are paying extra for a solution to a problem you do not have.
The one category I will not recommend for this job is a one piece tilt up door. Different geometry, different opener.
What this all costs
A pro install in my market runs 150 to 250 dollars on top of the unit, and that number has been stable for a few years. I charge it because the job is a half day plus a truck full of tools, and because 80 percent of the DIY installs I get called out to fix have the plate out of square or the travel limits set by guesswork.
The DIY path is a Saturday, a helper for the heavy lifting, and a drill. You will also want a level, a tape measure, a socket set, and a good pair of tweezers or needle nose pliers for the small connectors.
For the hardware in this guide, prices move around, so use the links above and check current Amazon price on both. If the numbers look high to you, remember what you are comparing them to: one service call to replace a stripped gear, which is what happens when a door runs out of balance for a year.
Do the balance test first. That single habit is the difference between an opener that lasts five years and one that lasts fifteen, and it costs you nothing but five minutes in the driveway before you order anything.
That is the job. Balance the door, respect the torsion bar, and the rest is just following the steps in order.