Most garage door openers hang from the ceiling in the middle of the bay, which is exactly where you wanted to store the kayak, the ladder, and the box of Christmas decorations you keep meaning to organize. A wall mount garage door opener bolts to the wall beside the door, turns the torsion shaft directly, and hands the whole ceiling back to you. That is the pitch, and it is a good one.
The catch is that this format asks more of your door than a chain drive ever did. There is no rail to forgive a door that is out of balance and no long chain run to absorb a stiff roller. A wall mount unit reads the weight of the door on every single cycle, and when the door drags, the opener pays for it in gear teeth and motor heat.
I have replaced more than 200 openers around Tulsa, and the wall mount units that die young almost always die because of the door, not the motor. So the order of operations below is not the order in the manual. It is the order that keeps the opener alive.
Why you should trust me
Twelve years, 200-plus openers, first as an HVAC installer and then on my own. I keep a drawer of failed parts in the shop, each one labeled with the failure date and the opener that produced it, because after a while the pattern stops being a mystery. Stripped plastic gears almost always come from a door that was never balanced. Safety sensors that trip every afternoon almost always face the western sun. Chains snap in a cold snap. Belts outlast two openers.
My father was a carpenter, and the lesson he drilled into me applies here: the motor is the least important part of the system. The rail, the belt or chain, the springs, and the door balance decide whether you get five years or fifteen.
Two things I will not do in this article. I will not walk you through spring replacement, because that is a lethal DIY and a pro with the right winding bars should do it. And I will not touch commercial doors, which run a completely different duty cycle and have no business in a residential guide.
How I picked the two things in this guide
This is a how-to, not a shootout, so the list is short on purpose. You need one opener and one lubricant. Everything else on install day is hardware you already own: a level, a socket set, a drill, a ladder, and a second set of hands.
For the opener, I judge four things. Whether the format actually solves a problem (ceiling space, in this case). Whether the brand has parts distribution in the United States, because a cheap opener with no parts pipeline turns a twenty dollar repair into a three week wait. Whether the drive system is appropriate for a house with a bedroom above the garage. And whether the install is honest about what it demands from the door.
For the lubricant, I judge one thing: whether it stays put without turning into grit. Silicone does. Grease does not. That is the whole argument, and it is why a can of silicone lives in my truck instead of a tub of white lithium.
The opener and the lubricant
Two items, in the order you will use them. Lubricate first, mount second, because once the opener is on the wall you will not want to be reaching past it with a spray can.
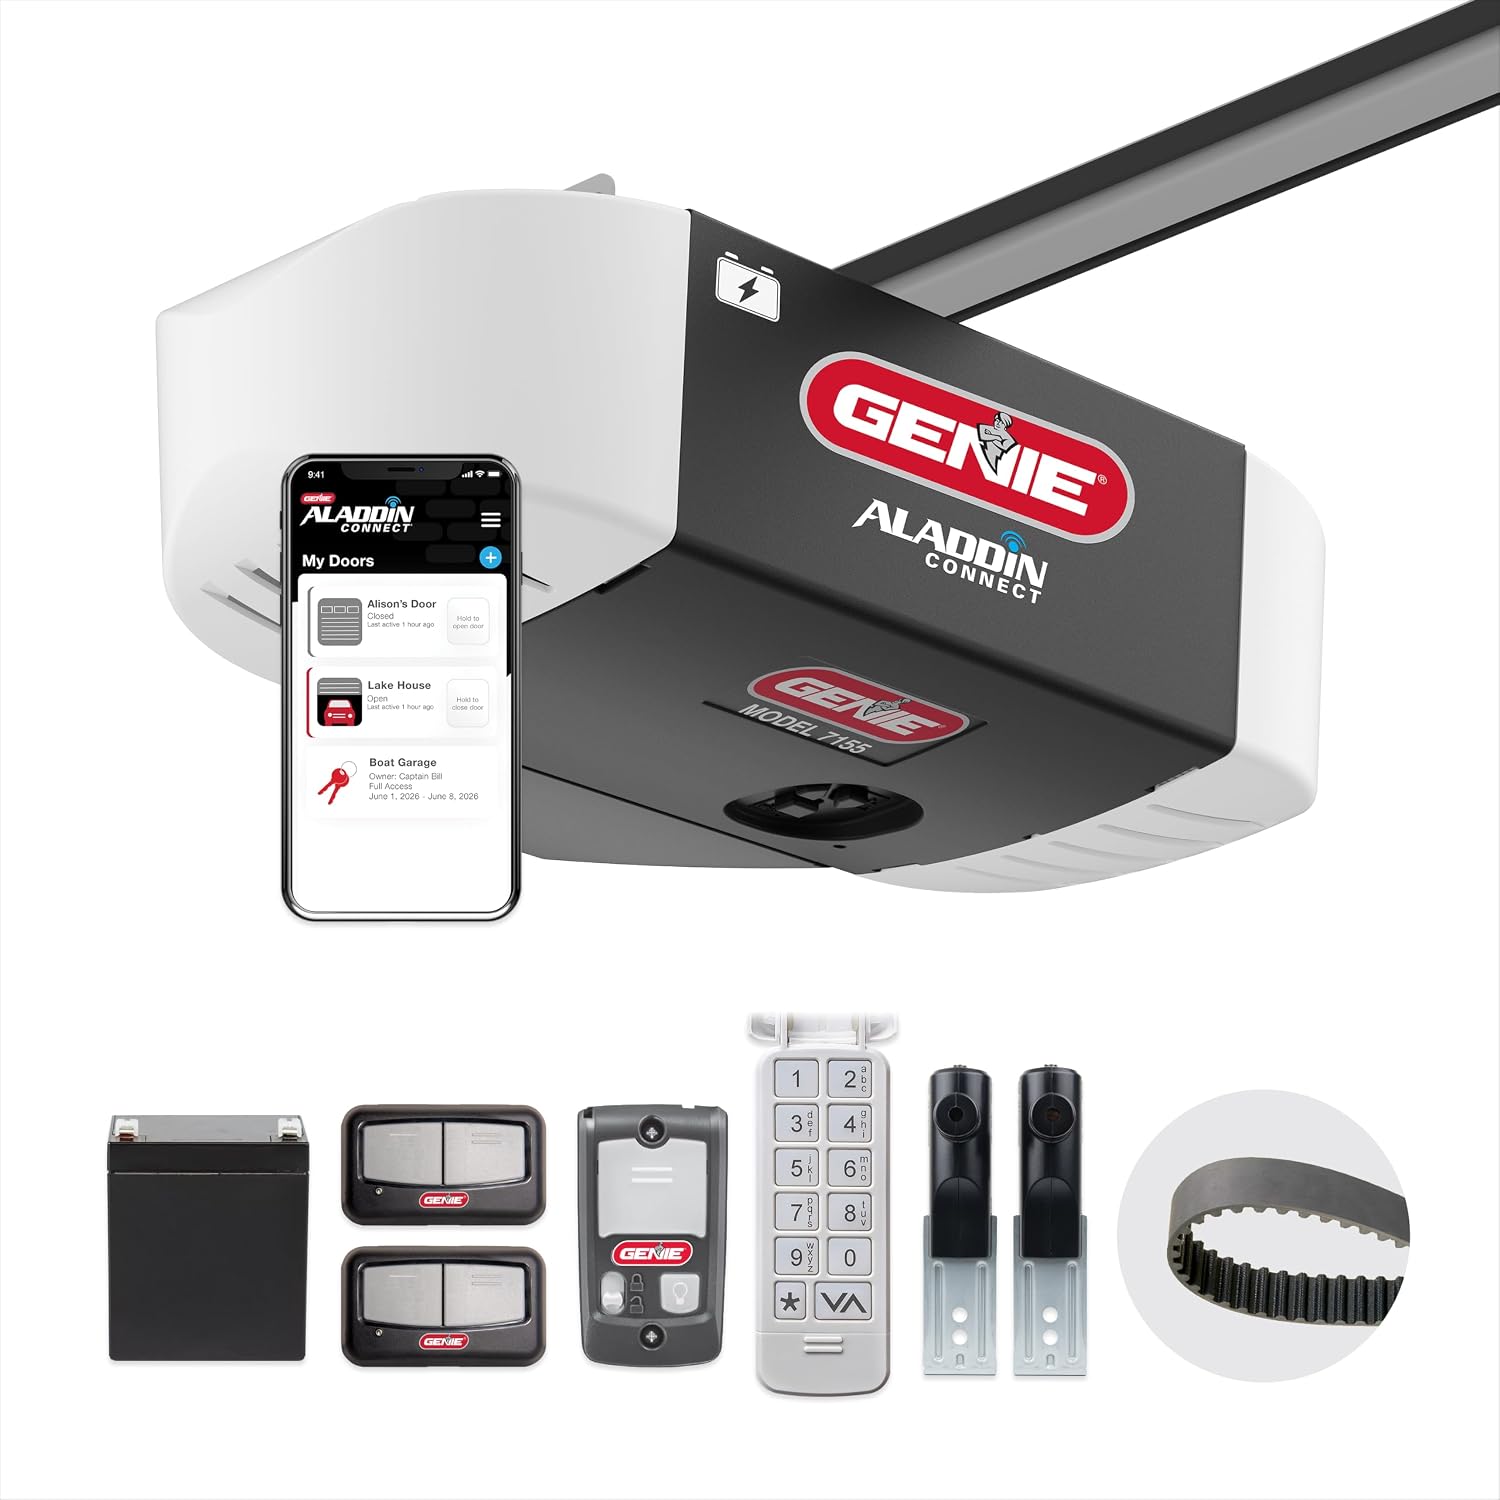
Our pick: Genie 6072H-O Residential Wall Mounted Garage Door Opener, Black
 Visit on Amazon →
This is the format I recommend to anyone who has a torsion spring door and wants the ceiling back. It mounts on the wall beside the door rather than on a rail overhead, and it drives the torsion shaft directly, which means no rail, no trolley, and no ceiling bracket to line up with a joist that is never where you need it.
Genie is one of the few names in this business with real parts availability in the States, and that matters more than any spec sheet. My rule of thumb after a decade of this: the brand you can get a gear kit for in three days is worth more than the brand that saves you forty dollars up front.
Flaws but not dealbreakers: A wall mount eats the wall beside the door, and on a narrow single bay that is the wall where the snow shovel and the recycling bins live. You also need a receptacle within cord reach, and you need the door to already be balanced, because this unit has no rail to hide a dragging door. If your door is on extension springs rather than torsion springs, this format is not for you without a conversion.
Anyone with a torsion spring door, a bedroom above the garage, and a ceiling they would rather use for storage should start here.
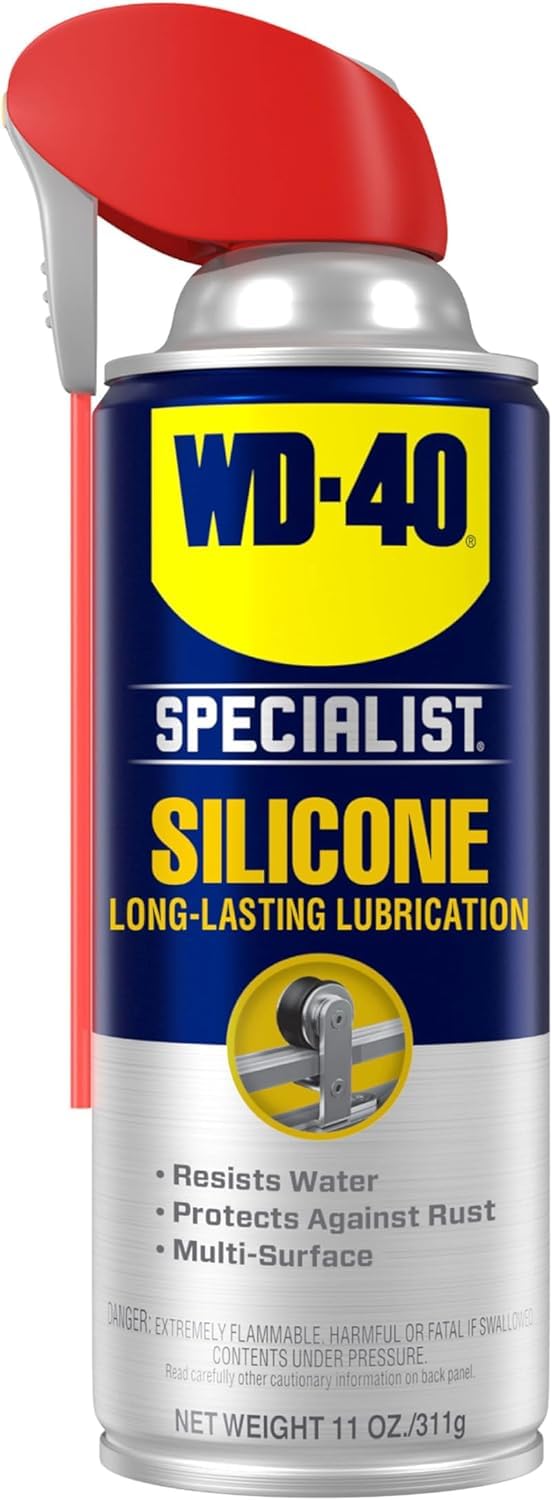
The prep step: Specialist Silicone Spray Smart Straw, 300012, 11 Oz,
 Visit on Amazon →
This is the can I reach for on every tune-up, and the smart straw is the reason. A hinge knuckle is a tight, greasy target, and the straw lets you put the spray exactly where the pin rides instead of soaking the whole panel and dripping onto the driveway.
Silicone is the right chemistry for garage door hardware because it dries to a film instead of staying wet. Wet lubricant collects the grit that comes off asphalt and concrete, and grit on a roller stem is lapping compound. You are not lubricating the door, you are slowly grinding it.
Flaws but not dealbreakers: It is a spray, so overspray is real. Cardboard behind the hinge line saves you a cleanup. And it is not a substitute for replacing a roller that has flat-spotted, which no lubricant fixes.
Anyone with a door that squeals in the morning, or anyone about to install an opener on a door that has not been serviced in years, should keep a can of this on the shelf.
The install, step by step
Now the part you came for. Read all of it before you touch anything.
Step one: balance the door before you buy a thing. Disconnect any existing opener, raise the door to about waist height, and let go. A balanced door stays put. If it slides down, the springs are tired. If it climbs, they are wound too tight. Both are spring adjustments. I do not talk anyone through those, and you should not talk yourself through them either. Call a pro. This is also where you confirm the door has torsion springs, because a wall mount opener drives the torsion shaft.
Step two: run the door by hand, top to bottom, twice. Listen the whole way. A grind is a roller or a bearing. A pop is a hinge. A rub is a track that is out of plumb or a panel that is out of square. Fix all of it now. An opener amplifies every one of these noises, and it also amplifies the wear.
Step three: lubricate before you power anything. Silicone on the hinge knuckles, on the roller stems and their bearings, and on the torsion bar bearings at the end plates. Keep it off the face of the track, because rollers are supposed to roll, not slide. Keep it off the photo-eye lenses. And if you have a belt drive, keep it off the belt entirely; a belt gets wiped clean and left dry.
Step four: pick the wall and find structure. The unit mounts on the wall beside the door, roughly level with the torsion shaft. That wall needs to be structure, not drywall. A stud, a header, or a plywood backer you add yourself. I have seen three of these hanging off toggle bolts, and all three were sagging within a year. Confirm there is an outlet within cord reach while you are up there.
Step five: mount the bracket, then hang the unit. Two people, no exceptions. Mark the holes with the bracket held in place, check level, then drill. Have the second person hold the unit while you start the hardware. Do not tighten anything until every bolt is started.
Step six: couple it to the torsion shaft. Follow the manual for the collar and key. This is the one connection on the whole job where guessing costs you a shaft, so read the page twice and then read it again.
Step seven: set travel limits and force. Open and close limits should stop the door with the bottom seal just kissing the floor, no more. Force should be the minimum setting that moves the door without stalling. Crank force up to mask a stiff door and you have simply moved the failure from the door to the gear case.
Step eight: align the photo-eyes. Both brackets at the same height, roughly six inches off the floor, lenses facing each other. If the afternoon sun hits one of them, shade it or move it. A sun-blinded sensor is the single most common service call I get, and it is a five minute fix.
Step nine: test the safety reverse, then test it again. Lay a two by four flat under the door and close it. The door must reverse on contact. Then block the photo-eye beam while the door is closing and confirm it reverses again. Mount the wall control at least five feet up, out of reach of small kids.
One last thing: after any power outage, re-check your travel limits. Some units forget, and a door that closes two inches too far is a door that is slowly destroying its own bottom section.
Wall mount versus ceiling mount, and belt versus chain
A ceiling mount with a belt drive is still the right answer for a lot of houses, and I say that as someone who installs wall mount units constantly. If your garage ceiling is clear and you have a bedroom above it, a belt drive on a rail is quieter and simpler, and the parts are everywhere.
Wall mount wins when the ceiling is contested, when the door is a torsion spring door, and when you want the opener out of the dust and heat that collects at the ceiling of an unconditioned garage. It also sidesteps the rail alignment problem that ruins most DIY installs, which is a real and underrated advantage.
Chain versus belt is the easier call. Belt drive is quieter and lasts as long. The only reasons to buy a chain drive are a tight budget or a detached garage where nobody sleeps above the noise.
What this all costs
The opener is the big line item, and the lubricant is the smallest one on the whole job. Both are listed above with current pricing, so check the listings rather than trusting a number I wrote down months ago.
If you hire the install out, expect to pay a technician somewhere in the range of $150 to $250 depending on the door, the wiring, and whether the springs need attention first. I charge in that range myself, and about a third of that money goes to fixing something on the door that had nothing to do with the opener.
The DIY version is entirely doable if you are comfortable with a drill, a level, and a ladder. Just be honest with yourself about the door balance step. Eighty percent of the bad installs I get called to fix have the rail wrong or the limits set by ear, and both of those problems start with a door nobody checked.
Where people go wrong
Three patterns, over and over.
They skip the balance check, mount the opener, and blame the opener when the door drags. They lubricate with grease or with a general purpose spray that stays wet, then wonder why the rollers grind louder in August than they did in April. And they set the force to maximum on day one because the door felt heavy, which is the same as turning off the safety system you just installed.
Do the balance check, use silicone, set the force low, and test the safety reverse every month. That is the whole maintenance program. It takes ten minutes and it is the difference between an opener that lasts five years and one that lasts fifteen.
That is the job. Balance the door, lubricate the hardware, mount the unit to structure, and let the safety system do its work.