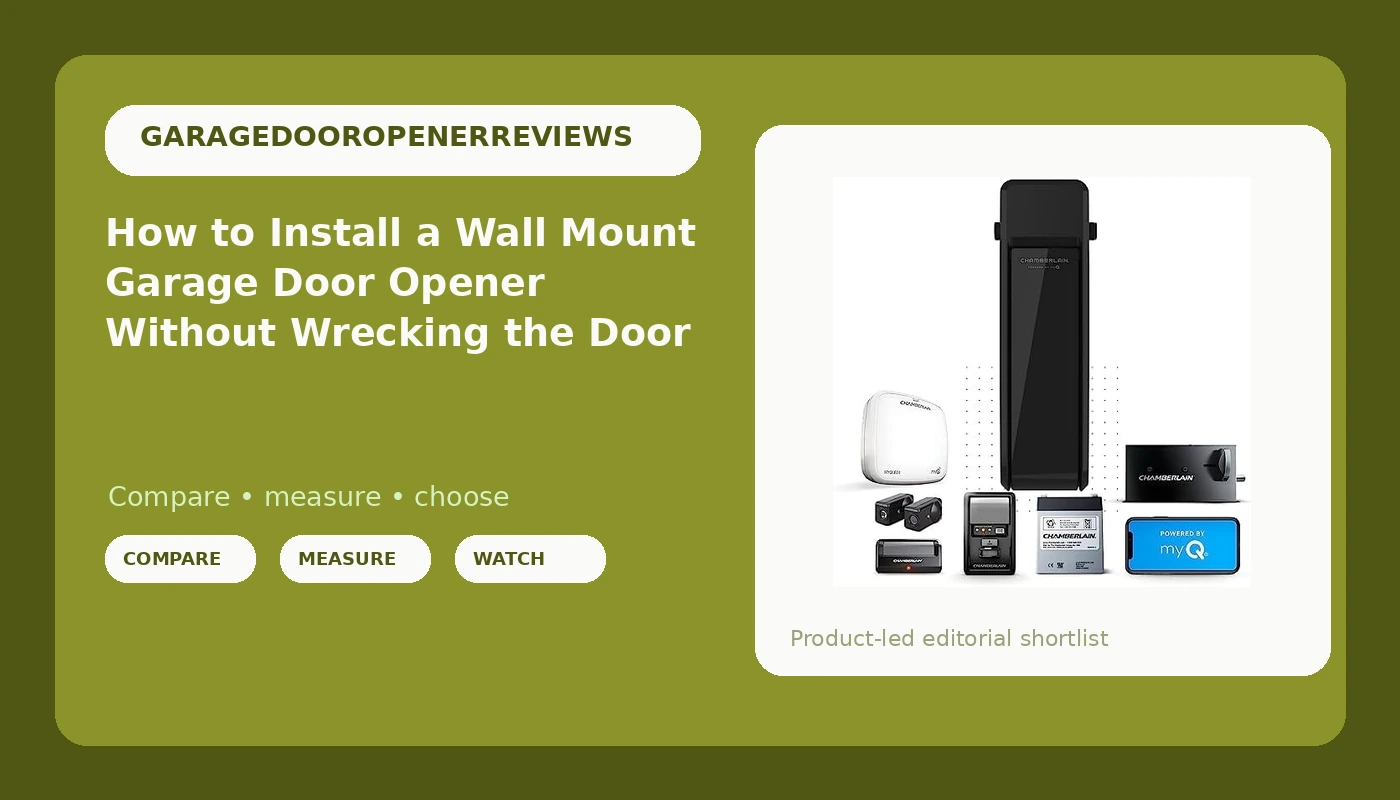
A wall mount garage door opener is not a drop-in replacement for the chain-drive box bolted to your ceiling. It mounts on the side wall or above the torsion shaft, it turns the door directly instead of dragging it along a rail, and that changes the entire job. No rail to align. No ceiling space eaten. No chain slapping the header every time the furnace kicks on in January. What it does do is move the opener into the corner of the garage where the shelf, the hose reel, or the water heater already lives, and it hands the whole load to the torsion shaft and the door's balance instead of to a trolley.
I have installed and replaced more than 200 openers around Tulsa since 2013, first as an HVAC installer and then on my own. Almost every unhappy wall mount owner I meet has the same story: the unit lifted the door the first week, then started reversing halfway up, then threw a fault code in the app. That is not a smart opener problem. That is a door that was out of balance before the box came out of the carton, plus springs that were already tired. The opener gets the blame because it is the new part.
Here is the order of operations I use on every job, the four things to check before you spend a dollar, and the one wall mount unit I would put in my own garage. Do the prep and this is a two to three hour job for a handy homeowner with a helper.
Why you should trust me
I am not a reviewer who unboxes things on a kitchen table. I am the guy a neighbor calls at 7 p.m. when the door is stuck open and the house is about to be left unsecured for the night. Over 12 years I have replaced rails stripped by misalignment, gears ground down by a door that was never balanced, chains that snapped in a cold snap, and belts that outlasted two motors. I keep a drawer of failed parts labeled with the failure date and the opener that produced them, mostly so I stop recommending things that keep coming back.
I balance every door before I touch the opener. I have torn down enough units to know that the motor is the least important part of the assembly. The rail, the belt, and the door's own hardware decide whether an opener lives five years or fifteen. I write about openers the way I talk to a customer standing in the driveway: what it costs, what breaks, and whether you should do it yourself.
What the door has to tell you first
Before you buy anything, go stand in the garage and find out whether a wall mount unit is even allowed on your door. Four checks, five minutes.
Balance. Pull the release cord and disconnect the door from whatever opener is in there now. Lift the door by hand to about waist height and let go. A balanced door stays where you put it, or drifts a few inches at most. A door that slams down or runs up on its own is out of balance, and a new opener will not fix that. It will just wear out faster. This is the single most common reason a wall mount opener fails early.
Torsion springs, not extension springs. A wall mount opener, sometimes called a jackshaft opener, drives the torsion shaft above the door. If your door hangs from stretched springs running along the horizontal tracks, there is no shaft to drive and this whole class of opener is off the table. Look at the shaft above the door. If you see springs wound around a steel bar, you are good. If you see long springs stretched beside the tracks, you are not.
Side room and an outlet. The unit goes on the wall beside the door or above it, roughly the footprint of a loaf of bread plus clearance for the collar that couples to the shaft. Check that nothing is parked there, including shelves you forgot about. You also want a live outlet within reach, because running a new circuit for this is a bigger project than the install itself.
The door's own hardware. Grab the door at the bottom and rock it gently. Worn rollers, loose hinges, and a bent track will all show up once a new opener starts pulling with full force. If a spring, cable, or drum looks frayed or gapped, stop and call a pro. I do not touch springs myself and neither should you. That is a lethal job and it is not worth saving a service call.
If all four checks pass, you can shop with confidence. If one of them fails, you just saved yourself a return.
The wall mount unit I recommend
One caveat before the pick. You are buying this for the wall mount format and the battery backup, not for the app. The app is 10 percent of the product and 90 percent of the support calls I get, and I say that as someone who genuinely likes being able to open the door from the driveway.
Our pick: Chamberlain Wall Mount myQ Garage Door Opener, Battery Backup
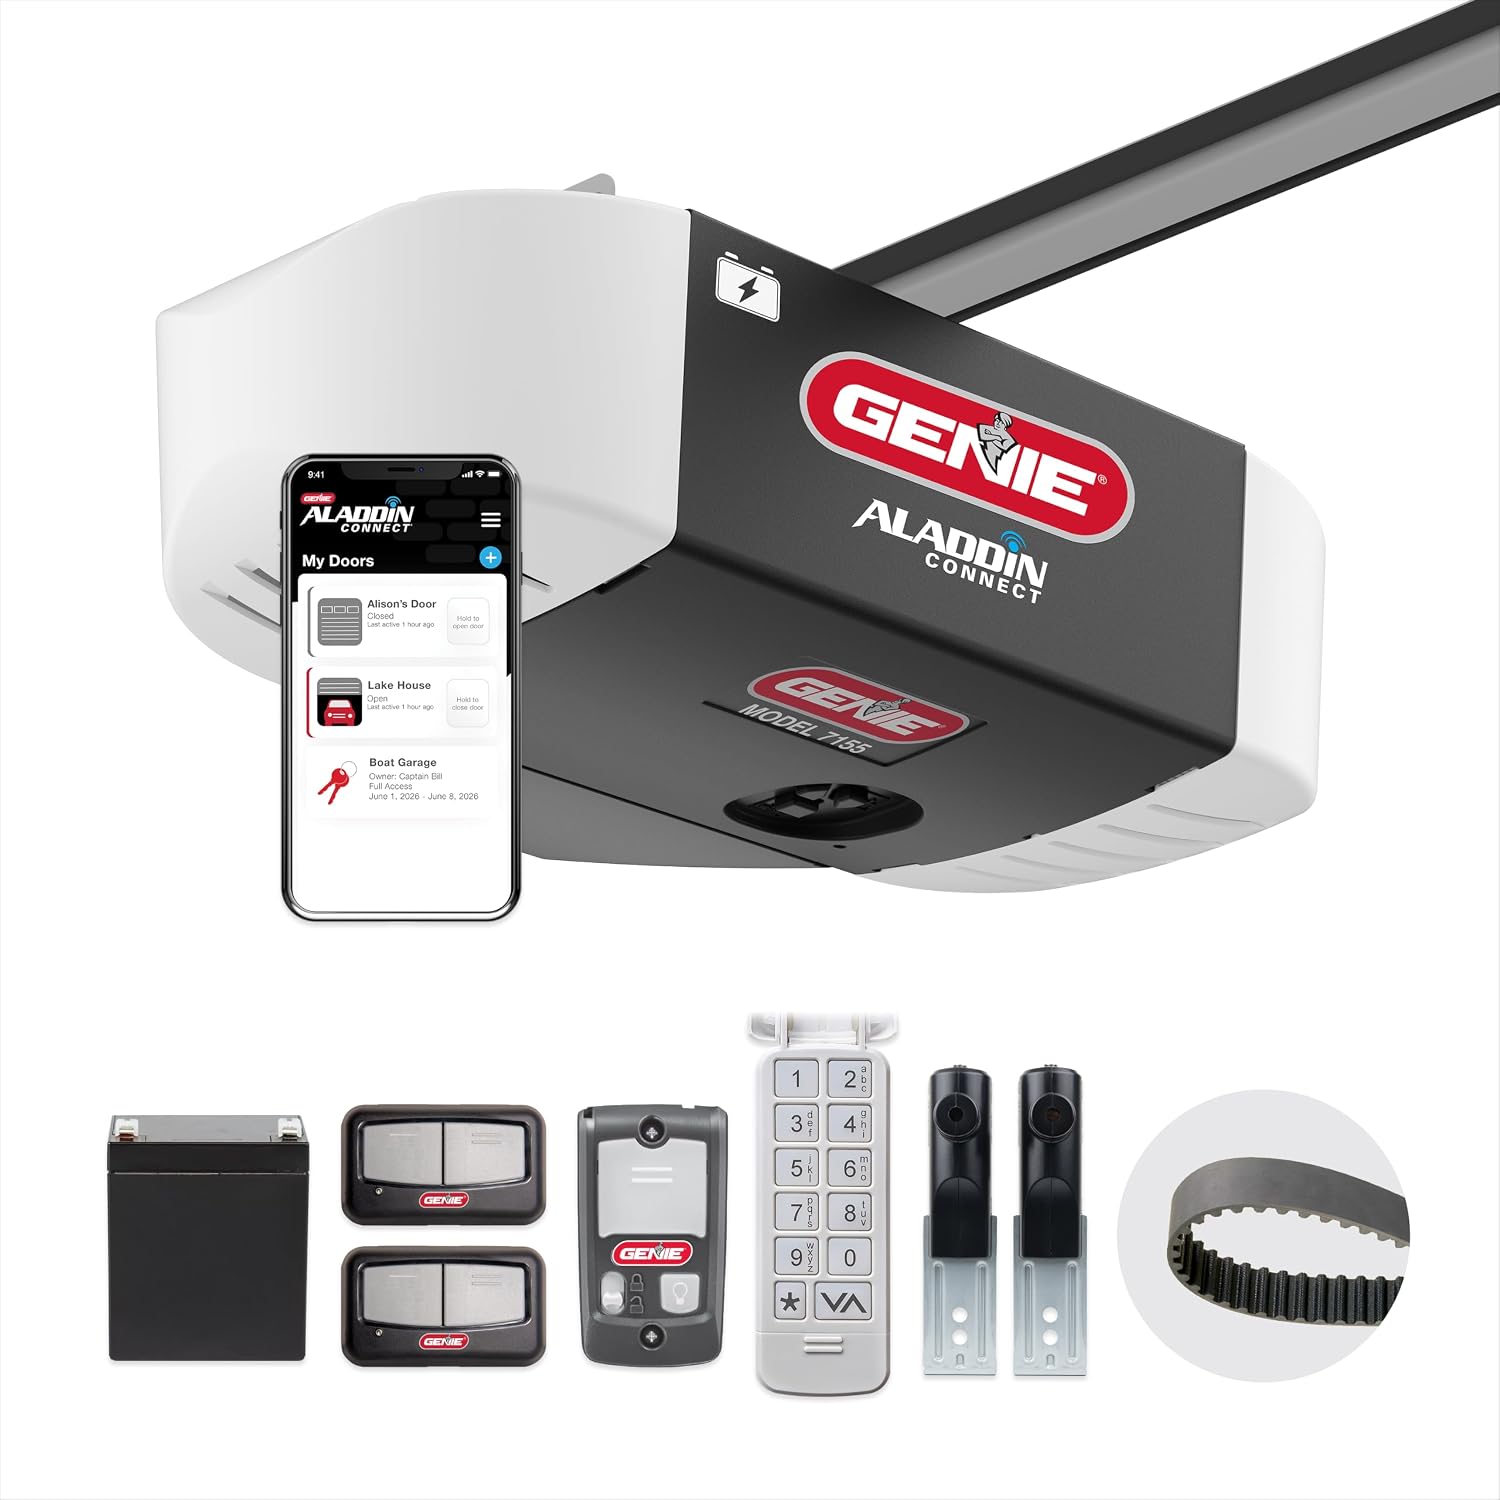 Visit on Amazon →
Check current Amazon price. This is a jackshaft design that mounts beside the door and turns the torsion shaft, which means the ceiling above your car is yours again. For anyone with a bedroom above the garage, that matters more than the spec sheet suggests, because there is no chain or trolley rattling against the joists at 6 a.m. There is also no rail to drift out of alignment, and misaligned rails are, in my experience, the number one killer of conventional openers.
The battery backup is the reason I steer people here in Tulsa. When the power drops after a storm, the car is the emergency exit, and an opener that needs the grid to lift the door is useless exactly when you need it. The unit runs on house current and falls back to its pack when the line goes dead.
Chamberlain and LiftMaster own this market for a reason that has nothing to do with marketing: parts availability. When something on a cheap opener fails, you wait weeks for a part, and in the meantime you are parking in the driveway. The myQ app handles remote open and close and alerts. Pairing trips people up, so budget a few minutes for it, and note that remote access wants a cloud login while local wall button and remote operation do not.
One honest caveat about the battery: this unit lives in an unconditioned garage, and heat is what ages a battery pack. Tulsa summers are brutal on anything sitting in a garage at 110 degrees. That is the part I would expect to need attention first, not the motor or the gears.
Flaws but not dealbreakers: It needs a torsion shaft and clear side space, so it will not work on every door. The app setup is fussier than the physical install. If your garage wall is crowded, measure before you order.
Anyone with a torsion spring door, a bedroom over the garage, and a habit of losing power in storm season should be looking here first.
The install, step by step
Now the actual work. Two people make this easier, one to hold and one to drive screws. Give yourself an afternoon, not twenty minutes.
Step one: kill the power and clear the door. Unplug the old opener and shut off the breaker if it is hardwired. Pull the release and run the door by hand all the way up and down a few times. You are looking for binds, scrapes, and places where the door hangs up. Fix those before anything else, because the new opener will amplify every one of them.
Step two: remove the old unit. Take the rail, the head, and the ceiling angle iron down. Cap or tape the old wires. On most jobs I also pull the old wall button and the old photo-eyes, because you will be running new ones. Sweep the area and check that the torsion shaft turns freely by hand before you mount anything.
Step three: mount the unit. Position the opener on the side wall or the shaft plate per the manufacturer's instructions. What matters here is that the mounting is solid and square, that nothing rubs, and that the manual release is reachable from the floor. If you are bolting to a wall, hit studs or add blocking. A jackshaft opener under load will find every soft spot in drywall.
Step four: couple it to the shaft. Loosen the collar, slide it onto the torsion shaft at the point the instructions call for, and lock the set screws down tight. This is the step people rush, and a slipping collar is the reason doors reverse halfway up. If the shaft has a lot of paint or rust, clean it first so the collar bites metal, not paint.
Step five: wire the safety eyes and the wall control. Mount the photo-eyes on the tracks or the wall, low, facing each other, and run the wire back to the head with enough slack that a bump will not yank it loose. Sunlight on the receiving eye is a real nuisance in a west facing garage, so if you can shade it or angle it away from the afternoon sun, do it now instead of fighting false reverses later.
Step six: set travel limits and force. Follow the manual's limit setting procedure. Set the open limit so the door sits fully up without the trolley or arm straining, and the close limit so the door meets the floor and the seal compresses evenly. Then test the safety reverse. Lay a piece of scrap lumber flat in the door's path, run the door down, and confirm it reverses off the obstruction. Test it every month, not every year.
Step seven: pair the remotes and the app. Program the car remotes and the wall button first, because they work locally and they are what you will use every day. Then pair the opener to the app. If the app will not connect, do not reset the whole unit. Check the Wi-Fi band first. Most pairing failures I get called for are a phone on a 5 GHz network or a router that put the opener on a guest network.
Step eight: test the backup. With the door down and the car out of the way, unplug the opener and run it on battery. Confirm it lifts and lowers, then plug it back in. You do not want to discover a dead pack during a blackout, and the pack is the part that heat kills first.
What this format rules out
Wall mount is not the right answer for everyone, and I would rather you know that up front. If your door runs on extension springs, this class of opener is off the table no matter how much you like the idea. If you have no wall space beside the door because the garage is packed, a belt drive rail opener is the quieter conventional choice and it mounts overhead where the old one was.
I also do not cover commercial operators here. They are built for a different duty cycle, and the advice does not carry over. Same with spring work. Anything involving the torsion springs, cables, or drums goes to a professional, and I say that as someone who otherwise pushes DIY hard.
What the job actually costs
For the unit itself, Check current Amazon price on the listing above, because that number moves. On top of that, budget your own afternoon and a helper, and a couple of small parts like wire staples and possibly mounting hardware if your wall is odd.
If you hire it out, my install rate runs $150 to $250 depending on how much of the old opener comes out and whether the photo-eyes need new wire runs. That is the honest market in my area, and it is money well spent if your door needs balancing or your springs are on the way out, because a good installer fixes those before the new opener ever goes up.
Day to day, the math that matters is the noise and the access. No rail overhead. No treadmill of alignment adjustments. A door that opens during a blackout.
That is the job. Balance the door, confirm the shaft, mount the unit square, and set the limits carefully. Do that once and this opener will outlast the door hardware around it.