Most garage door problems are not opener problems. They are remote problems and wall station problems, and both of those get fixed at the workbench with a screwdriver and about 20 minutes. I have done garage door opener remote replacement for neighbors in Tulsa so many times that I keep a labeled drawer of dead remotes and cooked wall stations, and the pattern never changes: the motor is healthy, the part in your hand is tired.
The two parts in this guide are the ones I hand people most often. One is a replacement remote that covers a long list of older and newer Chamberlain, Craftsman, and LiftMaster model numbers. The other is the LiftMaster 78LM wall control for Security+ 2.0 openers. Neither is hard to install. Both get installed wrong, almost always because the owner skipped the step where you figure out what generation of opener is bolted to the ceiling.
Here is the whole job, in order, with the traps marked.
Why you should trust me
I am Dale. I spent 12 years installing HVAC equipment before I moved into garage doors full time, and I have replaced or repaired more than 200 openers for neighbors, clients, and one very persistent guy in Broken Arrow with four bays. I have pulled stripped plastic gears out of units sold as heavy duty, replaced chains that snapped in a January cold snap, and rewired more wall stations than I can count. My bias is simple. The motor is the least interesting part of an opener. The rail, the door balance, and the thing you press with your thumb decide whether you are calling somebody in year five or year fifteen.
How I picked these two parts
This is not an opener review. This is the small parts guide, the stuff you buy when the opener itself is fine and one accessory has quit. I picked these two because they cover the two most common failures I get called about, and because both are the kind of part where the wrong version and the right version look identical in a photo.
When I look at a remote, I care about three things: whether the frequency and technology match the opener, whether the battery door survives a visor in an Oklahoma summer, and whether the programming sequence is written on the listing instead of buried in a manual you threw away in 2014. When I look at a wall control, I care about whether it is wired, because there is no coin cell to cook in a garage that hits 120 degrees in August, whether the light button is a real switch, and whether the compatibility line is honest about what it will not talk to.
That last point is why I am blunt about the 78LM. It is a Security+ 2.0 part. On an older opener it is the wrong part no matter how good the listing looks.
What you need before you start
- Your opener model number, on a sticker on the back of the motor head.
- The color of the learn button on the motor head. Yellow is the newest generation, Security+ 2.0. Purple is the generation before it. Orange, red, or green means an older frequency.
- A ladder tall enough that you are not standing on a bucket. This is a both hands in the air job.
- A small flathead for the terminal block, a Phillips for the wall plate, and a wire stripper if you are running new wire.
- A foot long scrap of 2x4 for the safety test at the end.
One hard rule before you touch anything: unplug the opener or pull the emergency release cord so the door is disconnected from the trolley. You are working around a machine that moves a 150 pound door. Do not work on it while it is armed.
And if you are looking at a broken spring, a frayed cable, or a door that hangs crooked, stop and call a pro. Spring work kills people who know better than you do. That is not this job.
The parts
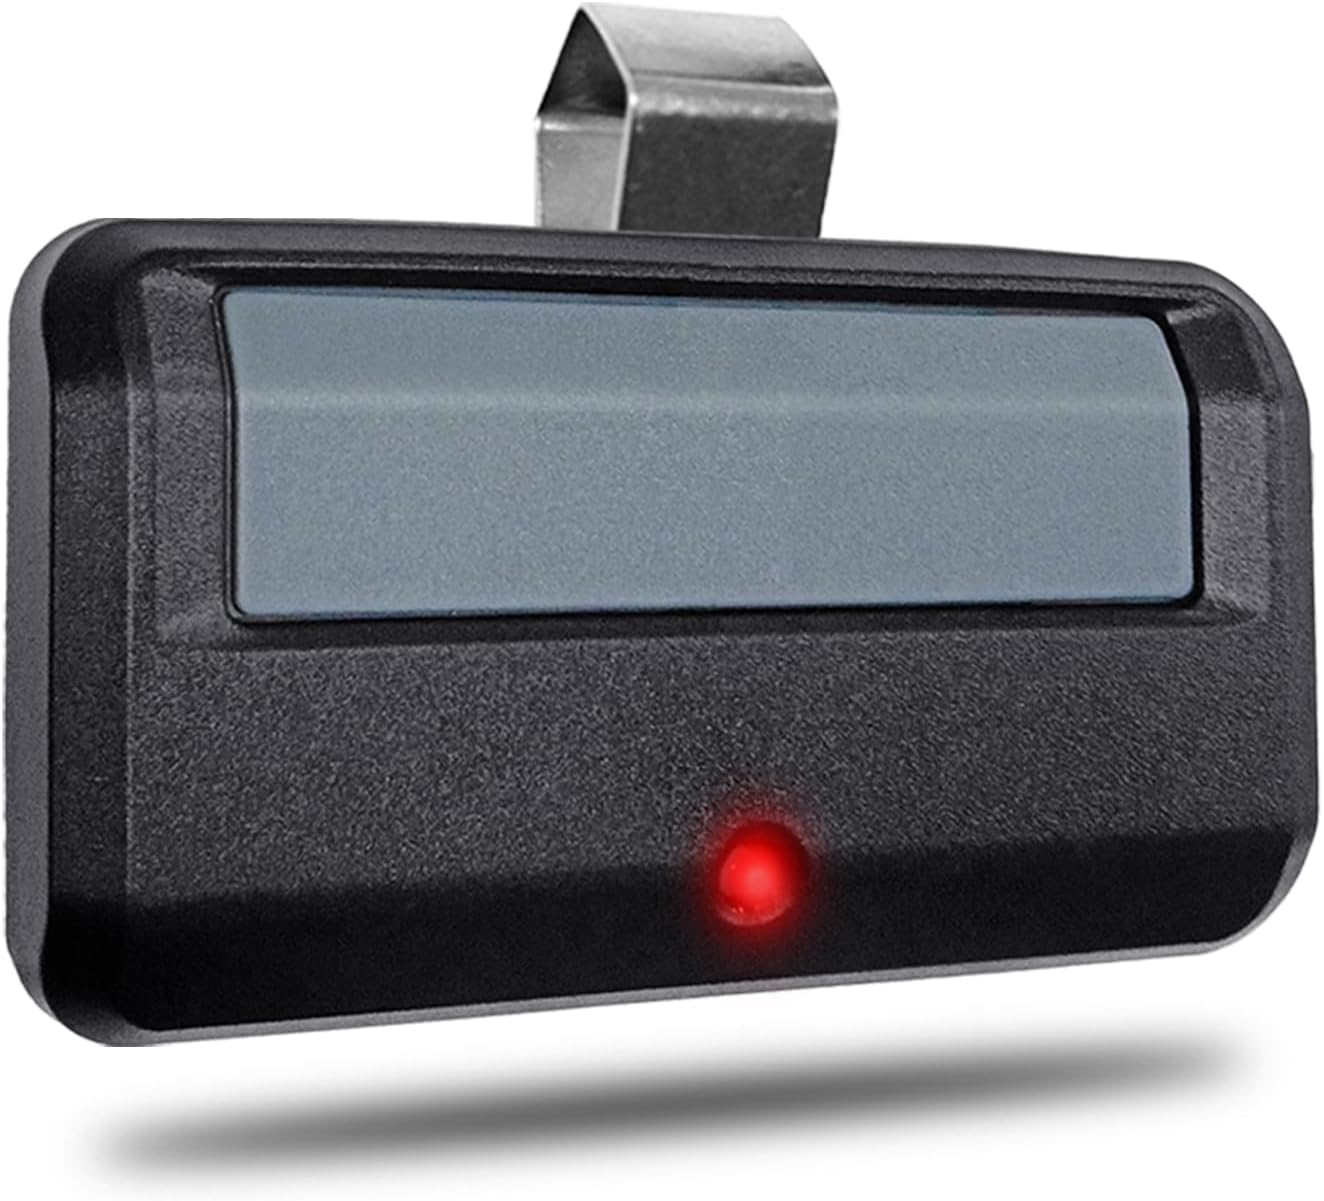
The replacement remote: 1 for Chamberlain Craftsman LiftMaster Garage Door Opener Remote Replacement, Replaces 891LM 893LM 893MAX 370LM 371LM 373LM 971LM 973LM, no Wait Wireless Remote Keyless Entry, Safe Security
 Visit on Amazon →
This is the remote I keep in the truck for the "my clicker died" call. The compatibility list is the reason. It names the newer Security+ 2.0 remotes and the older 315 and 390 MHz remotes in the same listing, so one part covers a lot of the openers still running in Tulsa garages. The name says no wait, and that matters more than it sounds. Some aftermarket remotes make you hold the button three or four seconds before the door moves. This one is a normal press and go.
The honest caveat: a listing that covers that many model numbers is a listing you have to read. Find your opener on the list before you order, and check the learn button color against the generation the listing calls out. If your opener is not on the list, it is not the right remote, no matter what the reviews say about somebody else's door.
Flaws but not dealbreakers: it is a bare remote, so confirm whether a visor clip and battery are included before you order. For a spare that lives in a kitchen drawer or a second car, that is fine.
Anyone with a Chamberlain, Craftsman, or LiftMaster opener who lost one remote and does not want to pay dealer money for a branded replacement should start here.
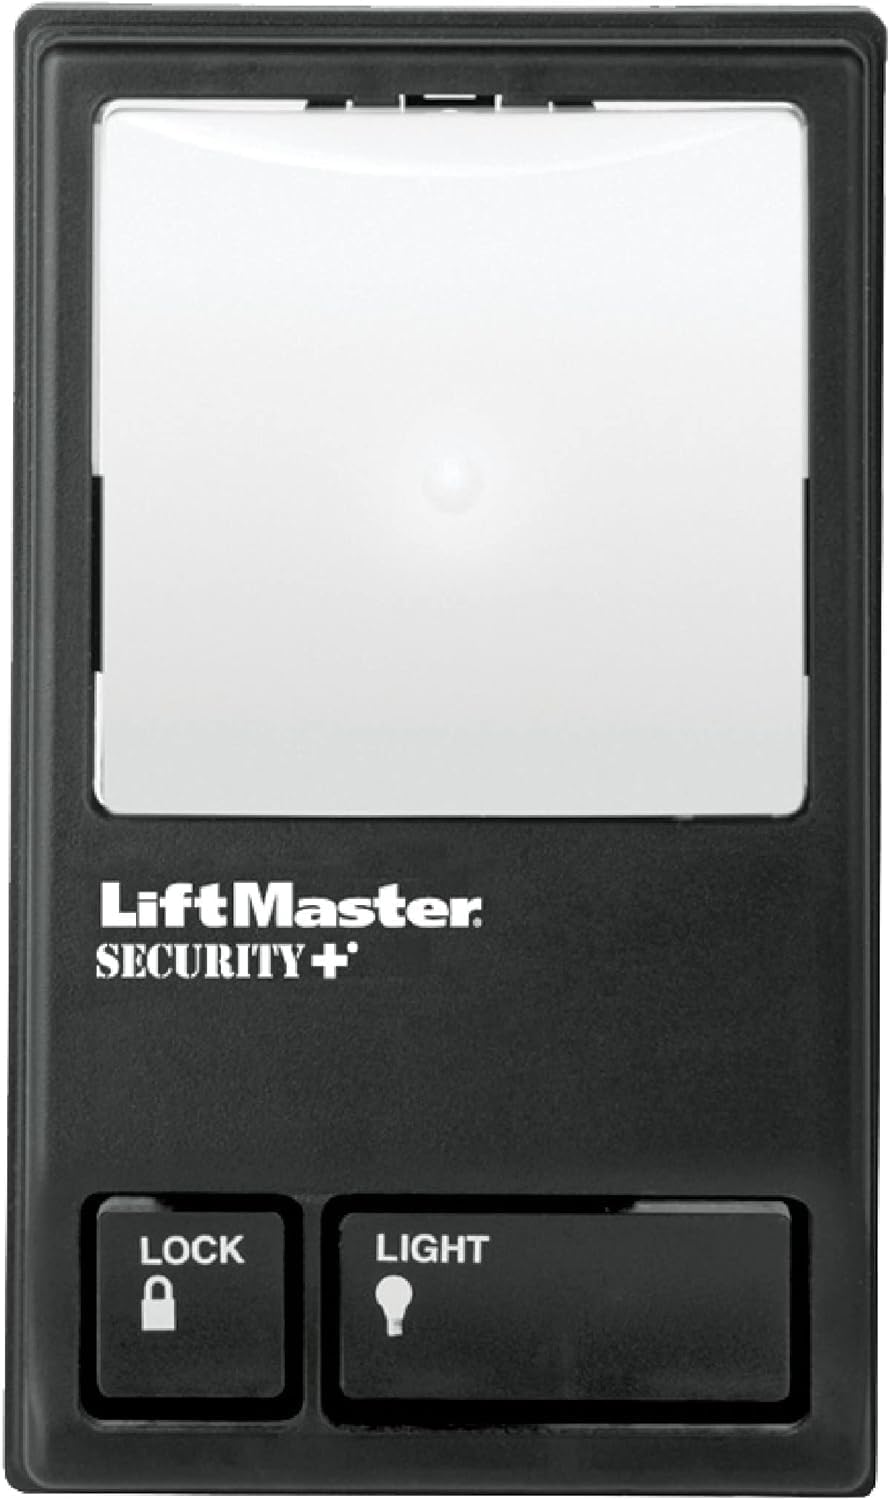
The wall control: LiftMaster 78LM - Garage Door Opener with Lighting Control - Compatible Only with Security+ 2.0 Garage Door Openers - Wall-Mounted for Convenience - Wired Connectivity for Power Source, Black
 Visit on Amazon →
This is the station by the door into the house, the one everybody presses forty times a day. It is wired, which is the whole point. No coin cell to cook in a garage that hits 120 degrees in August, and no pairing step. You land two wires on the opener terminals and it works. The light button runs the opener's light independently of the door, and that is the feature people miss most when a cheap station dies and they replace it with a single button unit.
Read the compatibility line twice. This is a Security+ 2.0 wall control. Yellow learn button, you are in the right generation. Purple, orange, red, or green, this is the wrong part, and the fact that it looks identical to the dead one on your wall will not save you.
Flaws but not dealbreakers: it is wired, so you either reuse the two conductor wire already stapled to your wall or you run new wire. If the old run is stapled tight against the ceiling, budget an extra half hour.
Anyone with a Security+ 2.0 opener whose wall station has dead buttons or a light that will not come on should replace it with this one.
Step by step: programming the remote
Do this on a ladder, not from the floor. You need to see the LED on the motor head.
- Unplug the opener or disconnect the door. Safety first, every time.
- Find the learn button on the motor head. It is a small square button near the terminal block, and it is color coded.
- On a Security+ 2.0 opener, the yellow button, press and release the learn button once. The LED lights for about 30 seconds. Press the remote button twice, slowly, inside that window. The opener clicks or the light blinks.
- On an older opener, press and hold the learn button until the LED comes on, release it, then press the remote button two or three times. Again, you are watching for a click or a light flash.
- Wait 30 seconds for the window to close, then test from the driveway. Do not test from three feet away and call it done. You want to know it works from where you actually park.
The trap: if the remote was previously programmed to a different opener, clear the opener memory first. On most Chamberlain and LiftMaster units you hold the learn button down for six to ten seconds until the LED turns off or the light blinks, which wipes every remote at once. Then reprogram every remote you own, not just the new one. Half the "my new remote works but my wife's stopped" calls I get start right there.
Step by step: swapping the wall control
- Kill the power. Unplug the opener. If the station is fed from a lighting circuit instead, kill the breaker.
- Pull the old station off the wall. Most are held by two screws, sometimes under a snap on cover. Take the screws out and let the station hang by its wires.
- Photograph the wiring before you touch it. Two wires, usually white and white with a stripe. Note which terminal each one lands on. That photo saves you a second trip up the ladder.
- Loosen the two terminal screws and pull the wires free. If the ends are corroded or the insulation is chewed, cut back an inch and strip fresh copper.
- Mount the new back plate with the two screws, level it by eye against the door trim, and snug it. Do not overtighten into drywall that twenty years of garage humidity has softened.
- Land the wires on the two terminals. Polarity usually does not matter on these two conductor stations, but keep the same wire on the same terminal the old one used. It removes a variable.
- Snap the station onto the plate, restore power, and press the door button. The door should run. Press the light button. The opener's light should come on and then go off on its own.
If the door runs but the light button does nothing, you are almost certainly on the wrong generation of opener, not holding a defective part.
The safety check you do not skip
Put the 2x4 flat on the floor in the middle of the doorway, in the path of the door. Press the wall station button to close the door. The door should hit the wood and reverse within a couple of inches. If it grinds down on the wood and keeps pushing, your travel limits or your force settings are wrong, and you fix that before anybody stands under that door.
Then test the photo-eye. With the door open, wave a hand in front of one of the sensors mounted at the bottom of the tracks. The opener light should blink and the door should refuse to close when you press the button. If the door closes anyway, the photo-eye is misaligned, dirty, or wired backwards, and you have a door that will close on a kid or a dog.
Both tests take two minutes. Do them every time you touch a remote, a wall station, or a battery.
Troubleshooting the three calls I get most
The remote works inside the garage but not from the driveway. That is usually an antenna problem, not a remote problem. The antenna is the short wire hanging off the motor head. Straighten it, drop it a few inches, and get it out from behind the metal of the opener housing. Metal and foil faced insulation eat signal.
The wall control lights up but the door will not move. Check the photo-eye first, then check the lock feature. Many wall stations have a lock button that disables the remotes and the outside keypad, and it is easy to hit while you are wiping the station down.
The opener beeps and the light flashes but nothing happens. That is the opener telling you the photo-eye is blocked or misaligned. Look for a spider web, a leaf, or a sensor a trash can bumped. Nine times out of ten it is not the opener, it is the beam.
What this article is not about
This is the accessory guide, not the opener guide. If you are shopping a whole new unit, what matters is belt versus chain, whether you want battery backup for storm season, and whether the door is balanced before you bolt anything to the ceiling. Keypads, Wi-Fi hubs, and the app side of a smart opener belong in a different conversation, and they generate more support calls than any remote ever will.
I also do not cover spring replacement here. That is a pro job with a real body count attached to it. Call somebody.
What this all costs
Both parts in this guide are inexpensive, and you can see today's numbers on the product pages linked above. The real cost question is labor, so here is the honest math from my side of the truck.
I charge $150 to $250 to install an opener, and a service call for a remote or a wall station usually runs a minimum fee plus the part. If you are handy and you can climb a ladder without drama, pairing a remote is 20 minutes and the wall control swap is 30 to 45 minutes including the photo you take of the wiring.
If you are not comfortable on a ladder, or your opener is older than you think it is, pay somebody. But pay somebody to do the job right, which means the safety reverse test happens before they pull out of the driveway.
Do the remote first and test it from where you park. Then do the wall control. Then put the 2x4 down and prove the door reverses. That order keeps you from chasing your own tail.